Manipulating a 'Drop Shadow'
(Page 1)
Clive R. Haynes FRPS
In Part One, 'Applying a Drop Shadow', we discovered how simple it is to create the 'Drop Shadow' effect. In this secstion we'll explore how to 'Manipulate a Drop Shadow'.
In esence what we'll be doing is creating a Drop Shadow as outlined in Part 1, then, separating it from the image and 'Rendering (Rasterising)' it so that it can be treated just like an image.
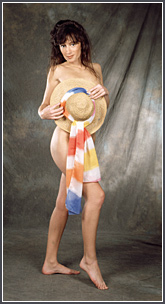
Next,
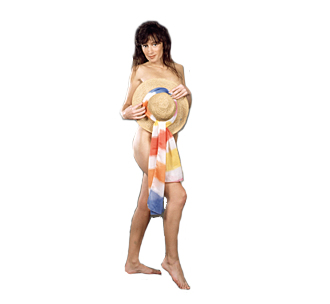
we'll add the 'Drop Shadow' - as described in Part 1
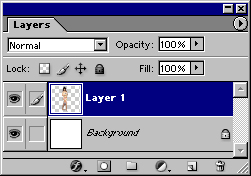
Above:
The Layer order

Not particularly convincing but ready for further work.
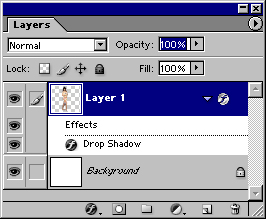
What we need to do is to separate the shadow from the subject
Above:
The Layer Order
Click
on the link below to continue