Clipping Groups
Clive R. Haynes FRPS
Clipping Groups
Having created one or more Adjustment
Layer, it may not be convenient for it to cause changes to all
the layers beneath. Photoshop will allow you to bind one or more Adjustment
Layers to the required image layer by 'clipping' the Adjustment Layer
to it.
This is how you do it.
Create your Adjustment Layer and click 'OK'.
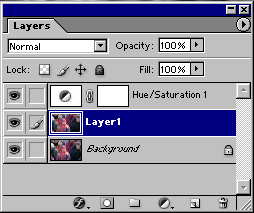
Activate either the newly
created Adjustment Layer or the layer below, then, whilst holding down
the Alt key, move the cursor over the junction between the two Layers
('Adjustment' Layer above and 'image' layer below). As you slowly cross
the dividing line, the cursor will change from a that of a 'hand' to small
grey/white 'eclipse' symbol
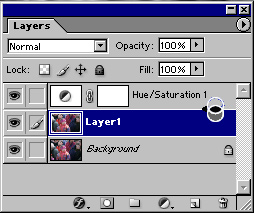
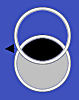 the 'Clipping Group' ('eclipse') symbol
 Left: Clipping Group - the
upper layer is 'clipped' to the lower.
Left: Clipping Group - the
upper layer is 'clipped' to the lower. The two Layers now form a 'Clipping Group' and adjustments made will only affect the image layer to which it is 'clipped'.
To 'unclip' the two layers, repeat the above procedure and they detach from one another.