Creating
a 'Drop Shadow'
(Part 1)
Clive R. Haynes FRPS
This
section will be in two parts:
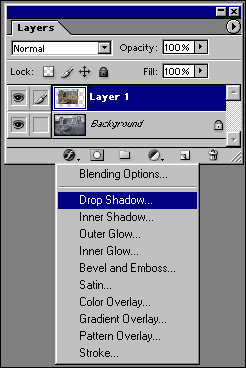
Part 1 'Applying a Drop Shadow', followed by
Part 2 - 'Manipulating a Drop Shadow'
Please Note
The information that follows was originated with an older version of Photoshop. The method remains relevant but some allowance must be made for updates in Photoshop such as Tool Bar layouts, changes in icons (Layer Mask icon for example), appearance of Layers, etc. Where there's a significant change a note has been made. In the course of time this page will be updated and the 'old page' retained as an 'archive version'.
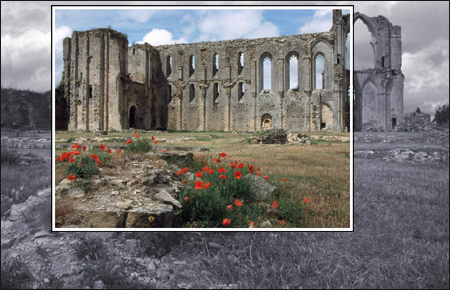
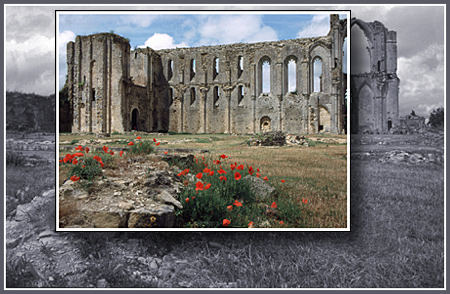
A border has been added to this upper image to further give the impression that it's a separate entity.
However, without a shadow the upper image appears very flat - see below.
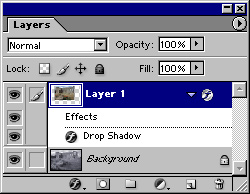
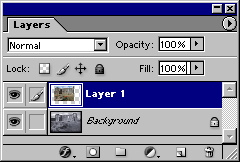 The layer order for the image above
To see what's happening, make certain that 'Preview' is ticked.
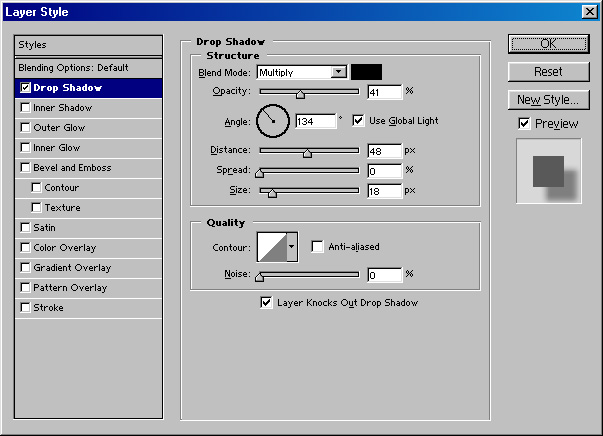
Fine adjustment of the Drop Shadow position can be made with the four (arrow) 'movement keys', to the left of the numeric pad on most conventional keyboards.
'Angle' -
represents where the shadow is and moving the 'dial' with the cursor will
rotate its position.
'Opacity' - determines how dense the shadow is - Note: many good
shadows can be ruined by being to dark.
'Blend Mode' - this defaults to 'Multiply' but others are possible.
'Colour' - this is usually black. However, clicking in the small
box to the right of 'Blend Mode' will allow any other colour to be chosen.
'Distance' - sets the space for the shadow (but you can simply
'go into' the image area and move it anyway).
'Spread' - thickens the shadow and spreads it out all around.
' Size'
- determines
how fuzzy or blurred the shadow is (yes, it's misleading isn't it)
'Quality' - this opens a another dialogue box and from here the
'contour' of the shadow can be changed - experiment and see.
'Noise' - adds 'noise' (graininess) to the shadow
try out some ideas.
Text
Drop Shadows can be applied to 'Text Layers' to create some very individual
effects.
To continue, click on the link below