Manipulating a 'Drop Shadow'
(Page 3)
Clive
R. Haynes FRPS
With
the Drop Shadow layer active go to Filter > Blur > Gaussian Blur.
Adjust the slider until the amount of blurring is appropriate. Make certain
the 'Preview' box is ticked.
The
next task is to fade the drop shadow as it extends from the subject.
We'll use Quick Mask and Gradient tools again.
We'll use Quick Mask and Gradient tools again.


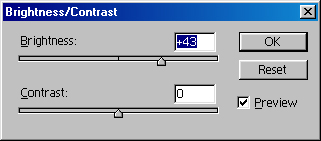
Once the Gradient has been applied to the Layer Mask the amount of 'fade' can be altered by using 'Brightness and Contrast' on this Layer, either via Image > Adjust > Brightness / Contrast or by creating an Adjustment Layer which can be returned to later if necessary.
By now, you should know a lot more about the application and manipulation of Drop Shadows.
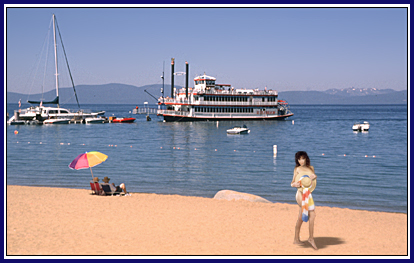
We'll give our model a holiday and transport her to Lake Tahoe in northern California