| Channel
Mixer continued |
| Clive
R. Haynes FRPS |
| At this point, to work on the mid-distance & foreground areas we have one or two options. With the Channel Mixer layer active, the fresh area to be worked on can be selected by say, the Lasso Tool or Polygonal Lasso (or whatever) and filled with black. This will 'erase' the Channel Mixer adjustments and colour will reappear. I usually prefer to 'paint out' the area to be worked. Select a brush of your choice and with the foreground set to black, restore (paint back in) all the areas of the image that you wish to work on next - in this instance, everything except the sky. These areas will return to colour. (If you make a mistake, swap to white foreground colour and paint with white to restore any errors). |
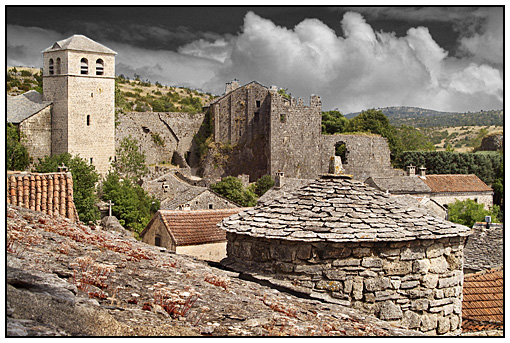
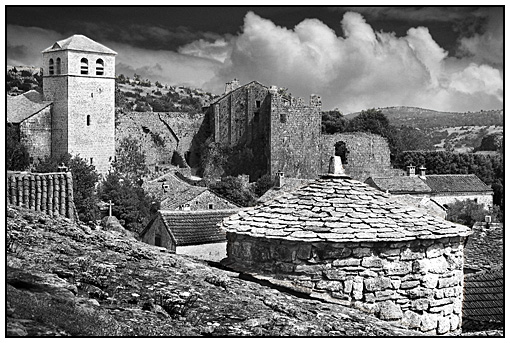
| Below:
The Image with colour partial restored as described above |
| |
|
|
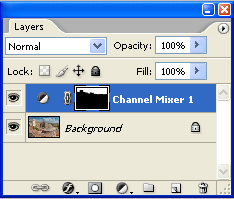
| Above: Channel Mixer layer with associated mask showing the 'black' -painted out' area. |
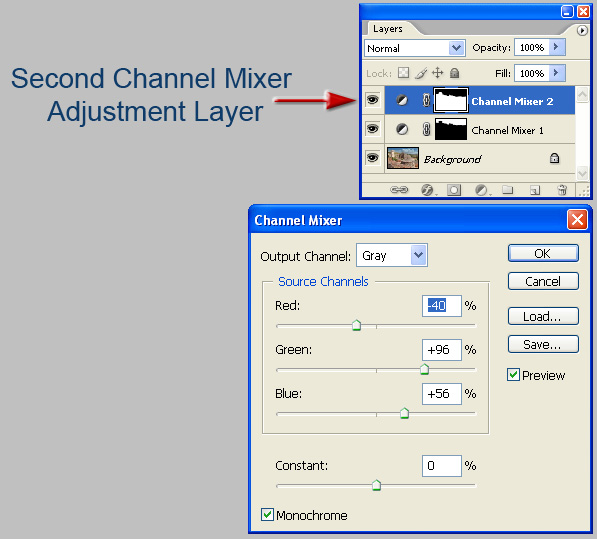
Next, Crtl + Click in the Channel Mixer mask thumbnail area - 'marching ants' appear over the area we've been working on to make monochrome. However, we wish to address the other part of the picture. Invert the selection (Select > Invert, or Ctrl + Shift + I) The selected / operational area is now the non-sky section. Create another Channel Mixer Adjustment Layer by the same method as described above. As soon as the Channel Mixer dialogue box opens, a new Adjustment Layer appears at the top of the layer stack Tick the 'Monochrome' box as before and this time adjust the sliders to suit these non-sky areas. |
 |
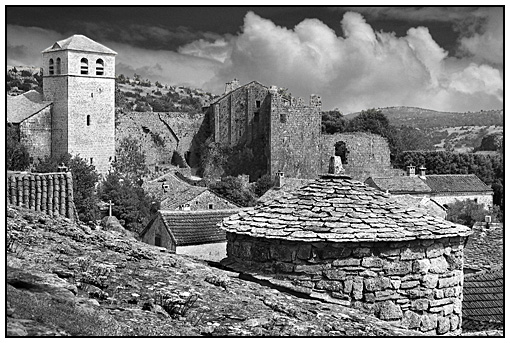
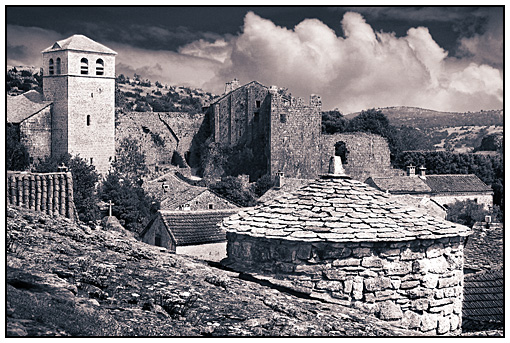
The
Result |
 |
At
this stage several options present themselves. Remember, you can return at any time to one of the Adjustment Layers to make further corrections and edits. The Channel Mixer 'sliders' may be re-adjusted to advantage. This is one very big advantage of using 'Adjustment Layers' - they can be adjusted whenever required. You may copy the background layer and place it at the top of the layer stack and gently blend or paint the colour back in with a combination of layer masks and / or blend modes. You may tone the image by one of the toning methods available ('Colorize' via Hue & Saturation or 'Gradient Map' for example - see 'links') Additional adjustment layers may be added, such as 'Levels' to further enhance areas. A new 'empty' layer may be placed at the top of the layer stack and gentle gradients applied to tone down areas - see 'Gradients - Dodging & Burning-in'). For a gentle artistic effect that blends the original colour into the scene - see 'Colour Diffusion Technique'. |
| Before selecting from the related Topics below, I present some options by further working on the image above. |
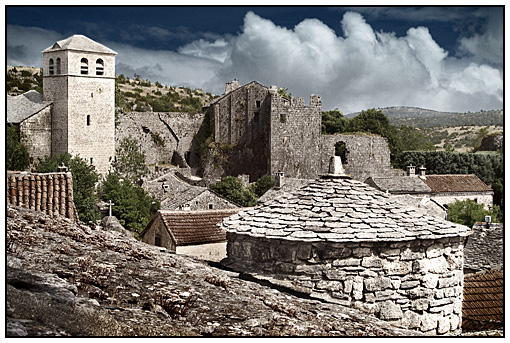
Below:
Selective re-adjustment by the addition of another Channel Mixer Adjustment Layer
(as previously described) to lighten the tones of the foreground conical roof
& wall to better 'balance' the picture. |
 |
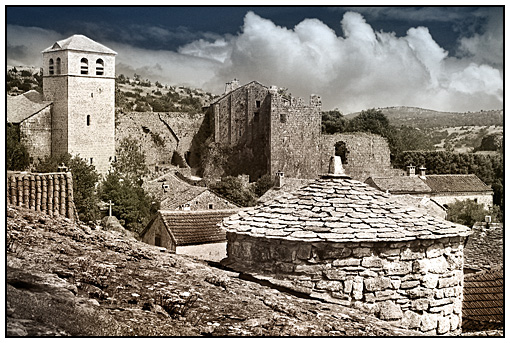
Below:
Toning using the 'Gradient Map' method |
 |
Below:
The gentle re-introduction of colour |
 |
Below:
The 'Colour Diffusion Technique' (subtly different to the image above) |
 |
Related
Topics |