This
is an alternative method of sharpening an image
and one that presents an amount of 'flexibility'.
It also has the advantage
that it's quick and easy to do.
The Method
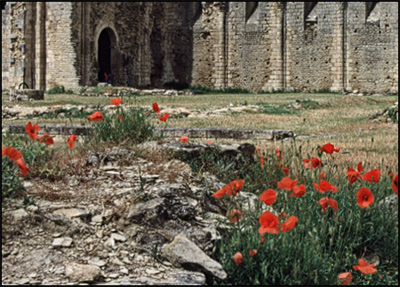
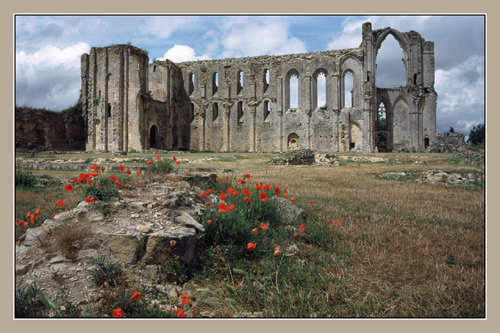
Open the picture as a Background Layer
Make a copy of this layer, placing it on the layer above
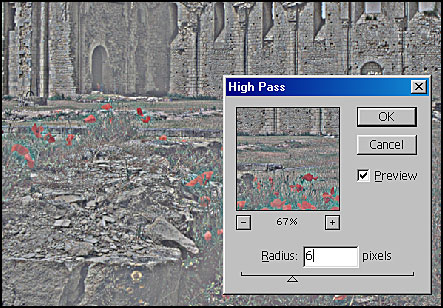
Go to: Filter > Other > High Pass
Set High Pass radius to between 4 and 8 - this increases the 'fringe' effect
Desaturate (via Image > Adjust > Desaturate) the High Pass effect - this is to prevent 'colour fringing'
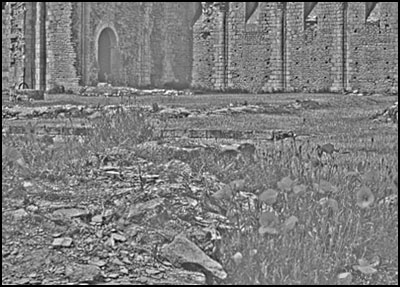
(Above: the desaturated image )
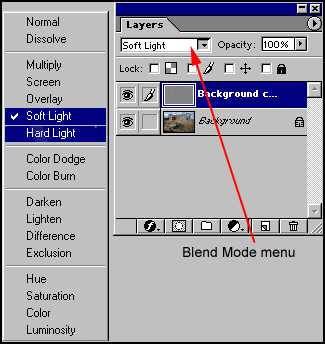
Set Layer Blend mode to either 'Soft light' or 'Hard Light' - choose whichever
suits the image
The opacity setting, for the layer, will influence the sharpening
effect
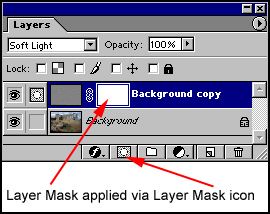
A further refinement is the application of a 'Layer Mask'. This enable parts of the 'sharpening layer' to be selectively 'erased' (using black f/g colour) or 'restored' (using white f/g colour) and a suitable brush.
For more information about the uses and applications of Layer Masks, go to 'Delving Deeper into Layers'