This
is an alternative method of image sharpening and one that permits some 'flexibility'.
It's a technique that is particularly appropriate in emphasising the 'edges' and
'textural content' of an image.
And, It's also quick and easy to do.
The Method
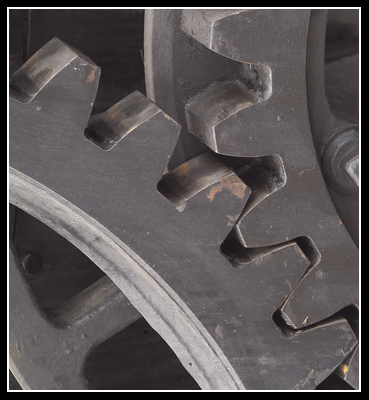
Open
the picture as a Background Layer
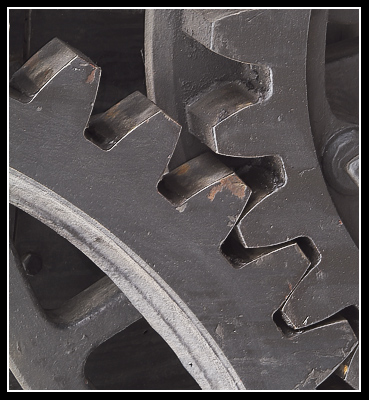
Make a copy of this layer, placing it
on the layer above
Change the 'Blend Mode' for this copy layer from 'Normal' to 'Hard Light'
Desaturate the copy layer (Ctrl + Shift + U)
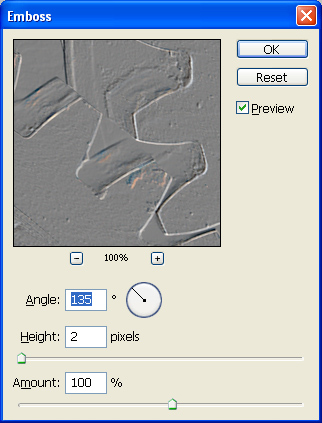
Go to: Filter > Stylise > Emboss
Set 'Height' to 2 to 4 - You need to experiment to find what's best for the image.
Set the 'Amount' to, say, 100 (again experimentation is required)
Adjust the 'Angle' to give the best accentuation of the edges/texture in your judgement
Click 'OK'
Options: 1
A
'Layer Mask' can be added to the layer- this enable parts of the 'sharpening layer'
to be selectively 'erased' (using black f/g colour) or 'restored' (using white
f/g colour) and a suitable brush.
NB: If 'Layer Mask' is an unfamiliar
method, click on this link: Layer Mask for more details.
A 'Curves' Adjustment Layer can be added and 'Clipped' (Ctrl + G) to the Sharpening Layer. The 'curve' can be set as an' S-curve' to increase the contrast and therefore the 'edge effect' of the 'Sharpening Layer'.
Experiment with other 'Blend Modes' in the 'Hard Light family':
Overlay
Soft Light
Vivid Light
Linear Light
Pin Light
('Hard Mix' is probably far too harsh)
Options 4
Experiment with the amount of 'Opacity' for the 'Emboss' Layer.