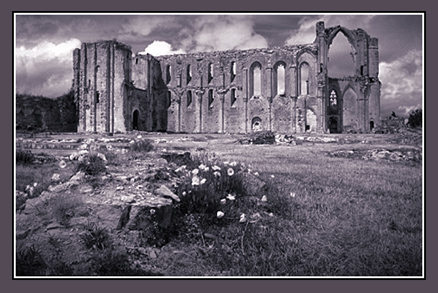
'Gradient
Maps' can
provide an attractive method of toning.
They are 'editable' and flexible.
They exist on a separate layer and can be both blended and worked with
layer masks.
And, what's more, they
are simple and quick to do.
The Method
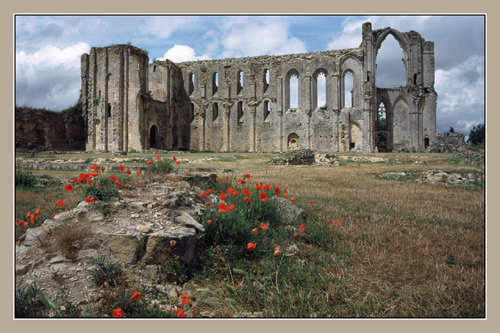
Open the picture as a Background Layer
Make a copy of this layer, placing it on the layer above
Make this layer into
a monochrome image by whatever method suits the picture best (do not
use the Mode > Greyscale route).
The quickest way to
monochrome is via Image > Adjust > Desaturate (Ctrl + Shift + U)
Select the Gradient tool and use the 'Linear Gradient' (usually the default) option and from the options bar choose 'Foreground to Background'
Choose the two colours (set as Foreground & Background) that you wish to use for the toning
Return to the copy (now monochrome) layer
Click on the Adjustment
Layer icon.....![]() .....
at the bottom of the Layers Palette and from the drop-down Adjustment
Layer menu choose Gradient Map.
.....
at the bottom of the Layers Palette and from the drop-down Adjustment
Layer menu choose Gradient Map.
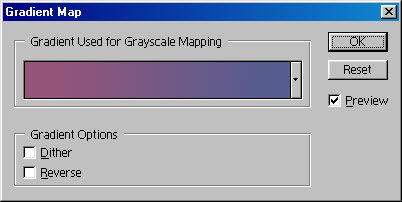
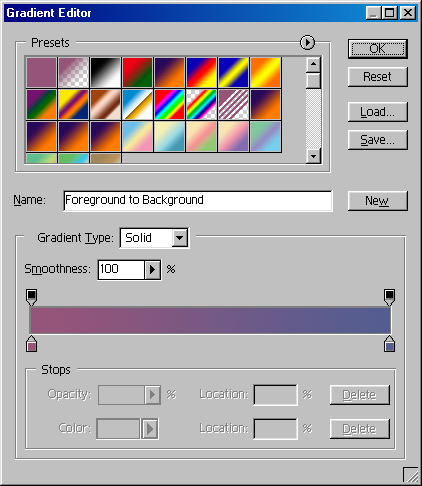
Note: Clicking on the colour gradient area itself reveals the 'Gradient Editor' dialogue box - this allows many options, other gradients to be loaded and plenty of room for experimentation, see below
But we're going to work on it!
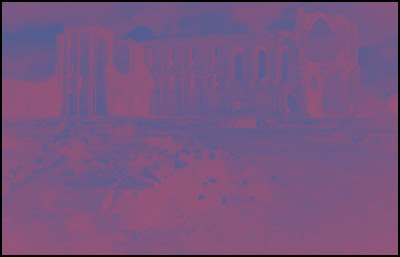
(Above - the first 'wash' with the Gradient Map - pretty amazing, unless you like this sort of thing!)
To improve the image,
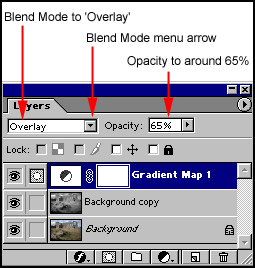
change the layer blend mode to 'Overlay' and reduce the Layer Opacity
- see below.
Experiment by blending with other 'modes' too.
Below: The final image - a warm (almost selenium tone) monochrome picture
