Luminosity Masks continued
Clive R. Haynes FRPS
When creating a 'Luminosity Mask' we're essentially mapping the areas of tonality within the picture which occur in the 'Luminance' or black & white part of the image. These areas can be revealed and edited using the Channels Palette. This is also where high contrast masks can be generated to assist in accurate 'cut-outs' as described in my section, 'Alpha Channel Masking'.
A brief note about RGB Colour Mode:
RGB mode assigns an intensity value to each pixel. For 8‑bits-per-channel images, the intensity values range from 0 (black) to 255 (white) for each of the RGB (red, green, blue) components in a colour image.
An 8-bit image can only contain a maximum of 256 shades of grey, while a 16-bit image can contain an astonishing 65,536 shades of grey!
Back to the Plot.....
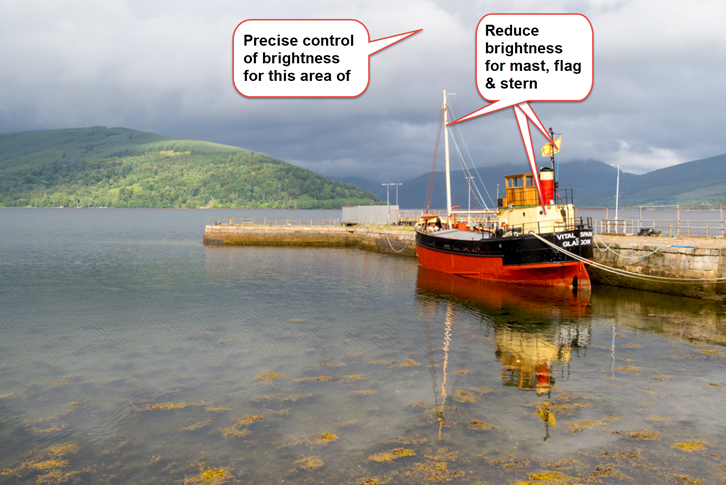
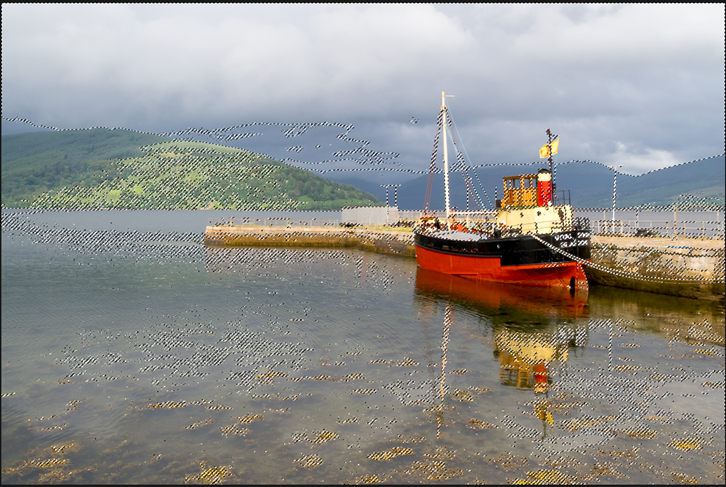
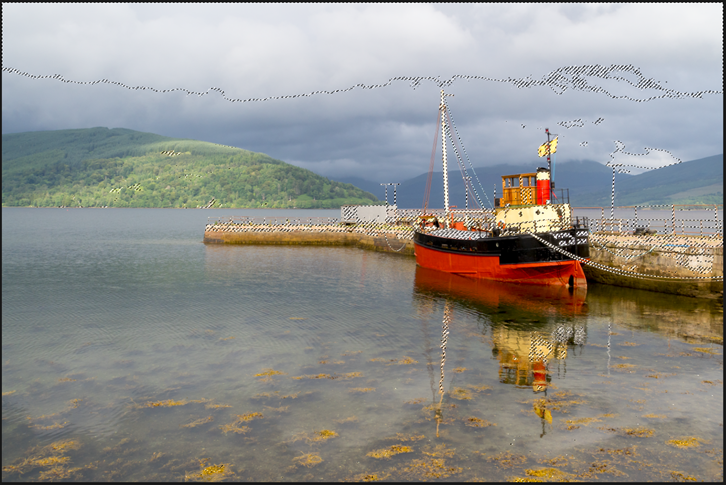
To illustrate how Luminosity Masks can offer refined control I'm going to use the 'Vital Spark' image. To present the drama I previsualised, involves slightly reducing the brightness of the mast, flag, the light area of the stern and the light patch of cloud.
We can successively select the brightest parts of the image to make several Luminosity Masks.
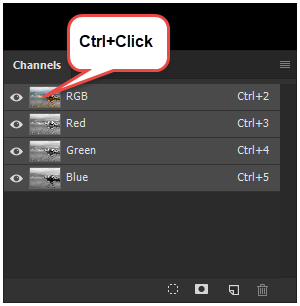
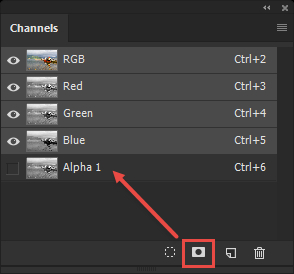
To make the first Luminosity Mask, Ctrl+Click upon the RGB thumbnail in the Channels Palette.
With the 'Marching Ants' running, The next task is to save the selection as a Channel. In the Channels Palette, click on the 'Save selection as Channel' icon and an Alpha Channel will appear.
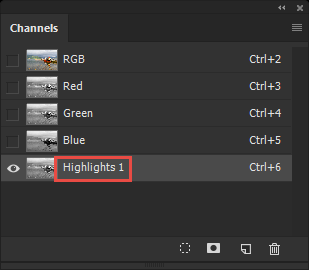
Firstly, do not deselect the Marching Ants, keep them running.
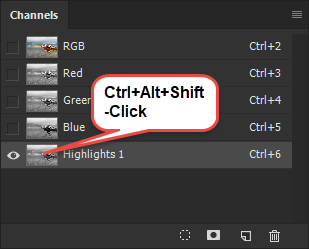
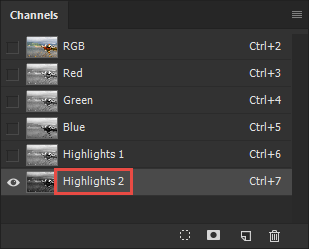
Next, hold down Ctrl+Alt+Shift and click once upon the 'Highlights 1' thumbnail in the Channels Palette (see below) . This will cause the existing selection to 'intersect' with itself*.
Note: If at any time the screen goes red, don't worry, this occurs when an Alpha Channel is visible (the 'eye' icon is 'on') at the same time as another Alpha Channel, RGB Channel or individualf R, G, or B Channels are also visible/active. To remove the red overlay, click on the eye icon for either RGB or an Alpha Channel to deactivate it.
From this point it's a matter of making more refined Highlight selections by repeatedly holding down Ctrl+Alt+Shift and clicking upon the preceding Alpha Channel thumbnail, succesively creating new Alpha Channels and naming each one.
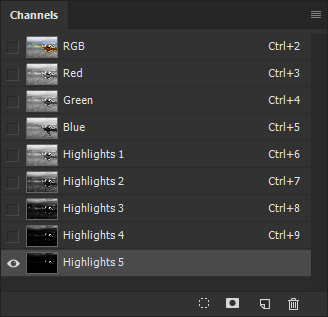
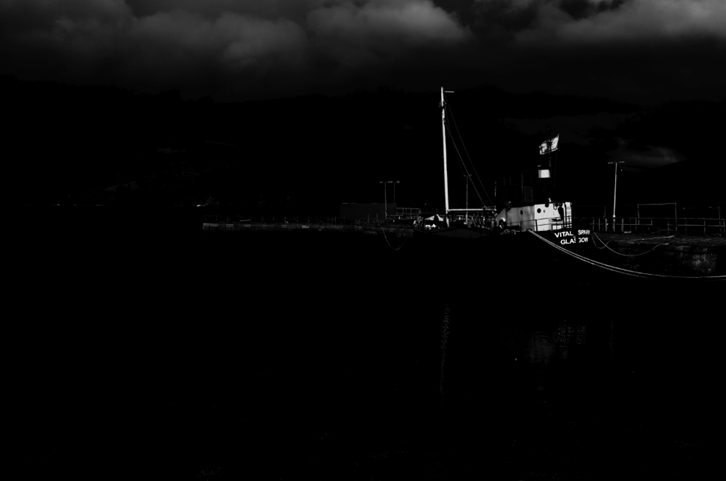
Frequently only three such Highlight Luminance Masks are necessary, however this image needed five before the selection was refined enough to target the mast, flag and stern area. See below.

* Intersect with Itself - An explanation for the curious:
The 'Intersect with Selection' command creates a selection in the current layer from the Alpha Channel. Opaque pixels are fully selected, transparent pixels are unselected and translucent pixels are partially selected. This allows extremely targeted changes based on selected area to be made.
To continue, click the link below.....