Masking & Cutting-Out
with
Channel Mixer and Alpha Channels
Clive Haynes FRPS
There are many methods for 'cutting-out' or 'masking' including commercial options too. However, they all rely upon discriminating between areas of contrast, tone and /or colour. Of necessity, they rely upon separating one area of tone from another and to do this 'Alpha Channels' are frequently used. No method is a true 'magic bullet' but many, including what's described below will achieve a high-level of success. They are all image-dependent and as a result an amount of refinement and 'tweaking' is necessary.
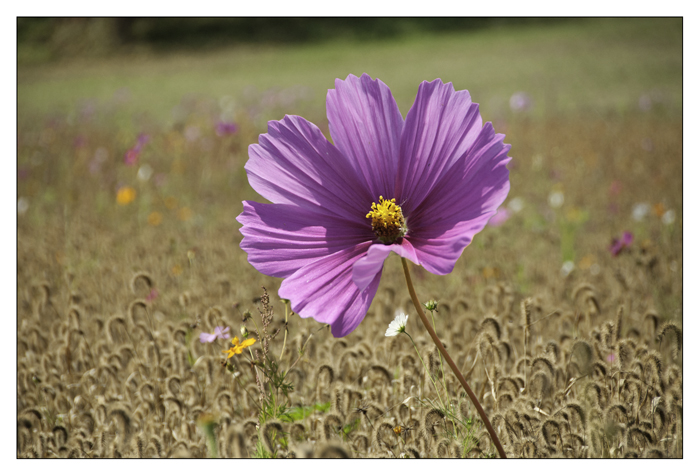
Open your starting image.
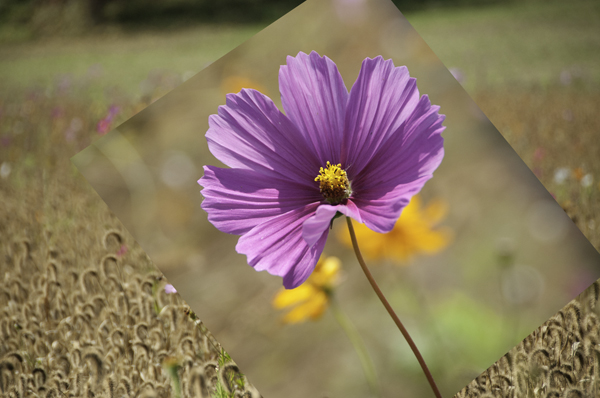
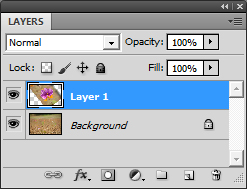
Import (copy/paste) the image you need to make the composite picture. This will appear in the layers palette as Layer 1' above Background'.
With the imported image layer active (blue), make any initial adjustments to rotate or reposition the image within the frame. (In this example, I've rotated the flower counter-clockwise by Edit > Transform > Rotate).
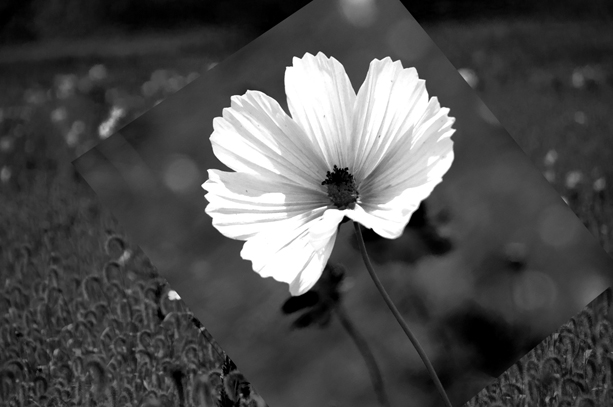
Click on the Adjustment Layer icon (half-black/half white circle at base of Layers palette) and from the drop-down list, choose Channel Mixer
Tick Monochrome'
Adjust sliders R, G, B to give greatest contrast separation between subject and background. We are only interested in separating the area you wish to cut out from the material around it. The values for Red, Green and Blue are fine for this image but other imahes will require other settings.
(For pre CS5 versions, click OK')

Keep the Channel Mixer Adjustment layer active
Select > All (Ctrl + A)
Edit > Copy Merged (it's essential to use Copy Merged' command)
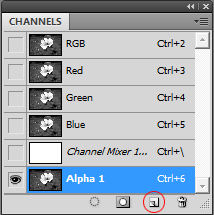
Open Channels Palette
Create new, empty, Alpha Channel (click on New Channel icon at base of Channels Palette (a white rectangle with the bottom left-hand corner folded in, adjacent to Trash Bin, see below)
With Alpha Channel active, go to Edit > Paste (Ctrl + V), this will be Alpha 1'
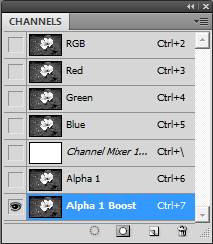
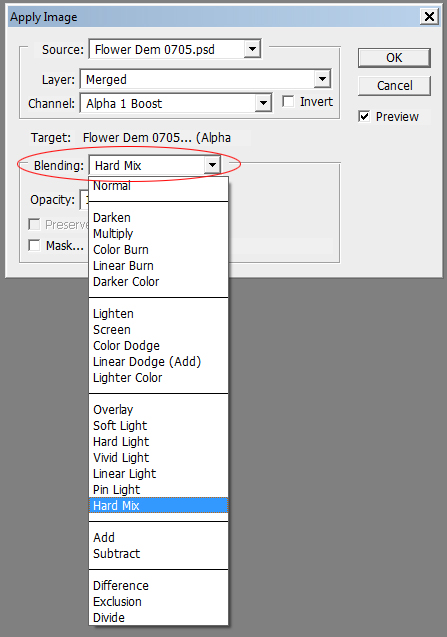
With Alpha Channel 1 Boost' active (highlighted), go to: Image > Apply Image
It's now possible to blend the two Alpha Channels (1 and 1 Boost) to improve contrast and therefore separation. Use the Blending Modes (drop-down) options in the Apply Image dialogue box to discover the strongest edge contrast
Tip: To quickly scroll through the options, go to the box marked Blending', slick on the drop-down arrow to the right and select Normal' (the text goes blue) and use the up/down arrow keys to scroll through the list of blends.
Choose the blend which offers the strongest contrast between the area you require and the rest of the image. We're looking for good edge separation, that is to say, as high contrast as possible.
Deselect (Ctrl + D)