Masking & Cutting-Out
with
Channel Mixer and Alpha Channels
Continued
Clive Haynes FRPS
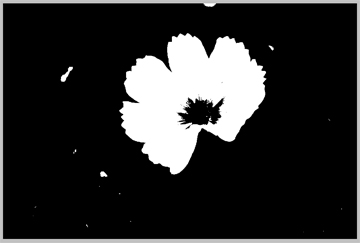
Edit areas of the mask by using white or black as the foreground colour and the Brush Tool and paint' directly on the mask. Use white to block in all areas you wish to select and black to exclude areas from selection. Se below:
Using the Mask to cut-out the desired area :
In the Channels palette :
Click on (activate) Channel Alpha 1 Boost'.
Click on Load Channel as a Selection' icon (small grey dotted-line circle at base of Channels Palette).
Tip: As an alternative, use Quick-Key method: Hold down Ctrl and click on Alpha 1 Boost' Mask thumbnail in Channels Palette
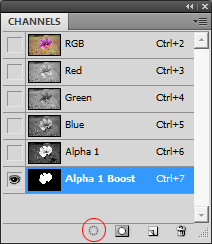
Marching Ants' appear, defining the selection
Note: If during any of the stages above, the image should be covered in a red tone (Quick-Mask) don't worry; this can occur if one (or more) Alpha Channels remain visible. To hide the (default) red mask in the Alpha Channel(s), click on the Alpha Channel eye icon(s) to make the Alpha Channel(s) concerned invisible.
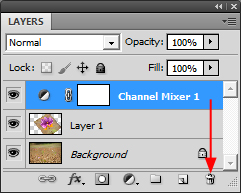
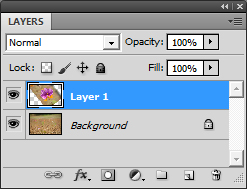
In the Layers palette :
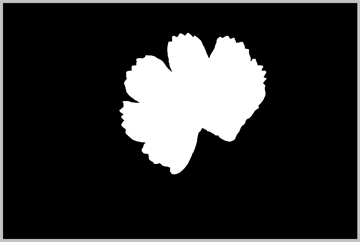
With both image Layers and marching ants' visible, be certain Layer 1 is active (this layer will be highlighted), click on the Layer Mask icon (small grey, square with a white centre circle at the base of the layers palette). This will cut-out the selection from the Background. The Layer Mask thumbnail will show the high-contrast shape as defined by the selection.
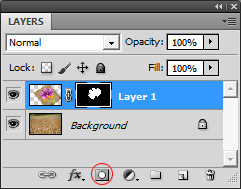
Most of the hard work in cutting-out is done. To refine the composite image and edit the mask, use the brush tool, choosing size and hardness settings as appropriate and with either black or white as the foreground colour. Do this with Layer Mask thumbnail active (click on the Layer Mask thumbnail) and paint' the areas of the image to either conceal (black) or reveal (white) as required. In this example, I used the Brush Tool on the Layer Mask to restore the flower stem.
A Few Notes :
When the marching ants' define the selection (see above), depending upon which area you wish to separate (cut-out) from the imported image, use the selection either as it appears or invert the selection (Select > Inverse) by Ctrl+I
A useful option is to save the selection via Select > Save Selection
The selection can be refined by one of the Select menu options, Refine Edge, Modify, Feather, etc.
Once made, the selection is ready for cutting-out or pasting into.
Once the mask has been produced, it offers a starting point; refinements can be made on the Layer Mask using the Brush tool, Gradients, etc. Refinements can be similarly made on An Alpha Channel.
A Commercially Available Alternative:
Suppose that you don't want to do everything via this 'manual process'? Commercial alternatives are available and one such is from TopazLabs, this is 'ReMask'. Click on the link below to discover more via my Topaz pages.......