Digital Infrared Photography
A Personal Workflow
continued
Clive R. Haynes FRPS

Above: Remove any specs of dust on the sensor with Spot Removal Tool. Other 'healing' and 'cloning' can be done in Lightroom but Photoshop is inherently better at this.
Note: If there's no desire to take the image into Photoshop then I will do my very best to obtain seamless edits in Lightroom but it can be a struggle.
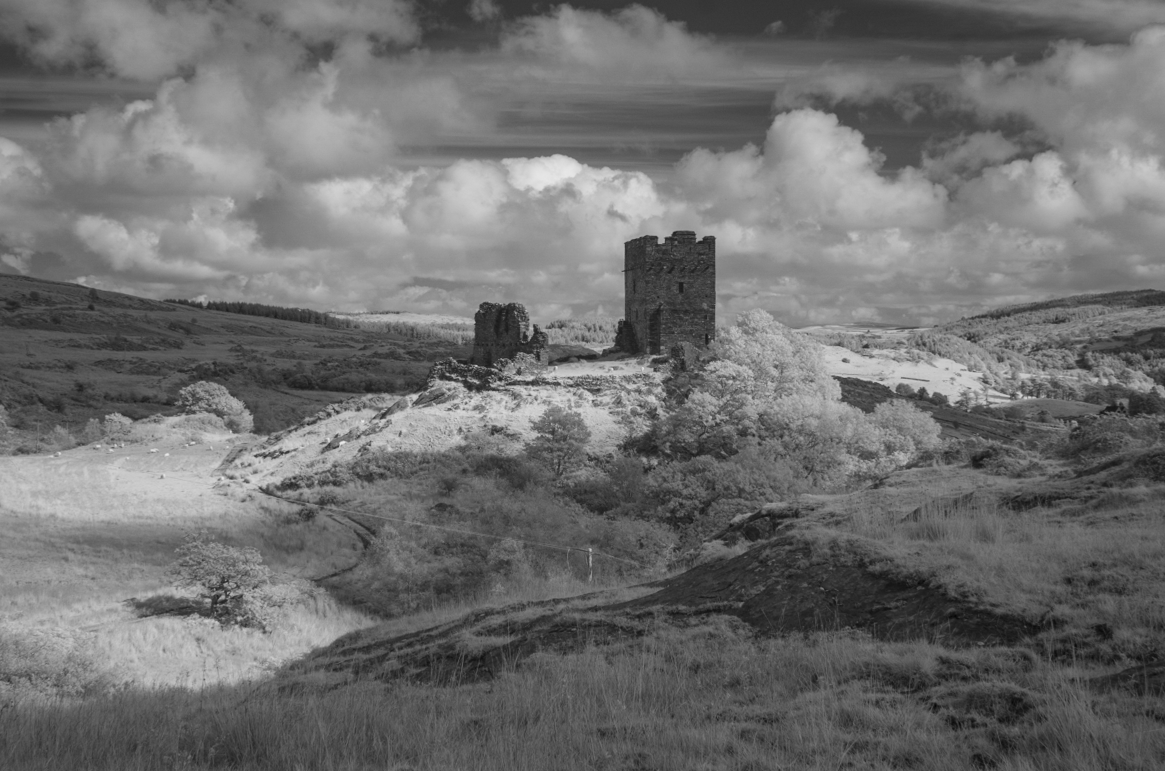
Exposure: Adjusted for a more even histogram, with some latitude for local emphasis using the Adjustment Brush.
Crop tool used to correct slight tilt.
Sharpening and Noise Reduction reviewed at 100% view and considered to be worth adjusting slightly. Sharpening,+64. Noise Reduction, Luminance Smoothing, +21.
.
Above:
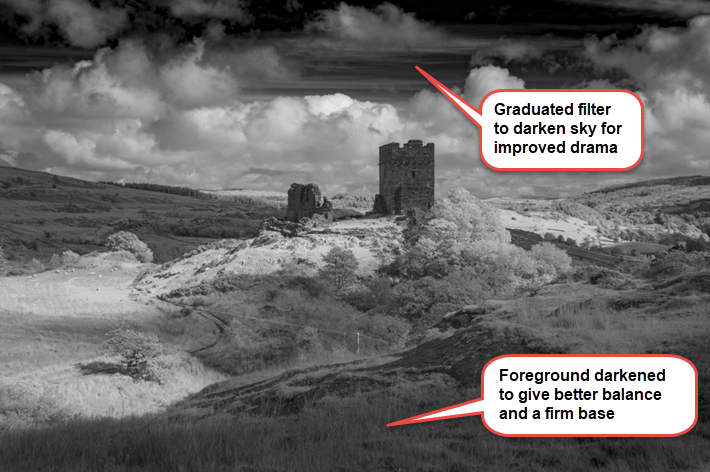
Graduated Filter added to upper sky area and the Dehaze setting increased.
The near foreground area was darkened using Adjustment Brush with 'Burn-in' at minus 0.80 stop.
To increase presence and drama a new Adjustment Brush was used, also at minus 0.80 stop exposure and applied to shadows upon the upward slope to the castle and to the left of the mid-ground.

Above:
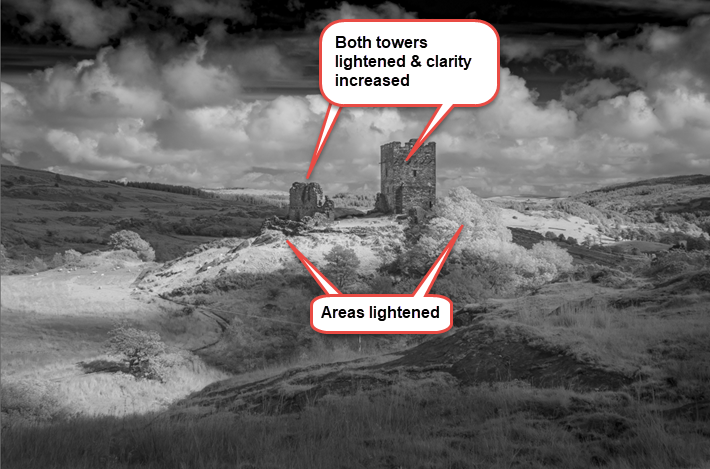
To bring more attention to the two towers an Adjustment Brush was used, set to increase Clarity (+29) and exposure (+0.60 stop).
A little more light was required upon the sunlit slope just beneath the castle and an Adjustment Brush set to +0.25 stop was effective for this.
The next stage: Into Photoshop..........