Digital Infrared Photography
A Personal Workflow
continued
Clive R. Haynes FRPS
Stage 2: Photoshop
At this stage the image was opened in Photoshop. The decision to use Photoshop was based upon two considerations. Firstly Photoshop's better ability to deal eliminate unwanted elements within the image and secondly to allow the effective use of micro-contrast adjustments by a Topaz plug-in. Layers would be invaluable for this with a layer mask to seamlessly blend the adjustments needed.

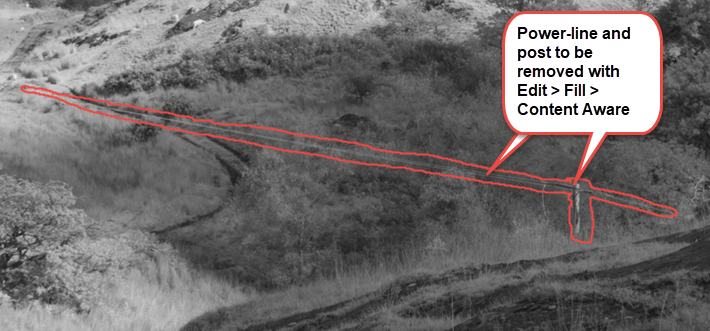
Using the Lasso Tool to select around the power-line and adjacent post then going to Edit > Fill > Contents > Content Aware > OK, the 20th century trappings were eliminated.
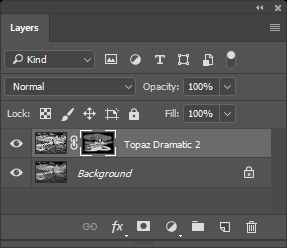
Making a copy of the Background Layer I opened Topaz 'Adjust' where from the 'Vibrant Collection' set I used 'Dramatic II'. This was effective, particularly when some refinements were made to the 'sliders' to improve detail and contrast. On this same Layer, a 'Hide All' Layer Mask allowed me to subtly 'paint in' the Topaz improvements where needed. The image was saved as a .PSD file.
For details about Layer Mask, refer to this subject in the Know-How section contents list.
For details about Topaz Plug-Ins refer to the Topaz link on my Homepage.

Above: Photoshop layer structure with Topaz edit on Background copy layer