Digital Infrared Photography
A Personal Workflow
continued
Clive R. Haynes FRPS
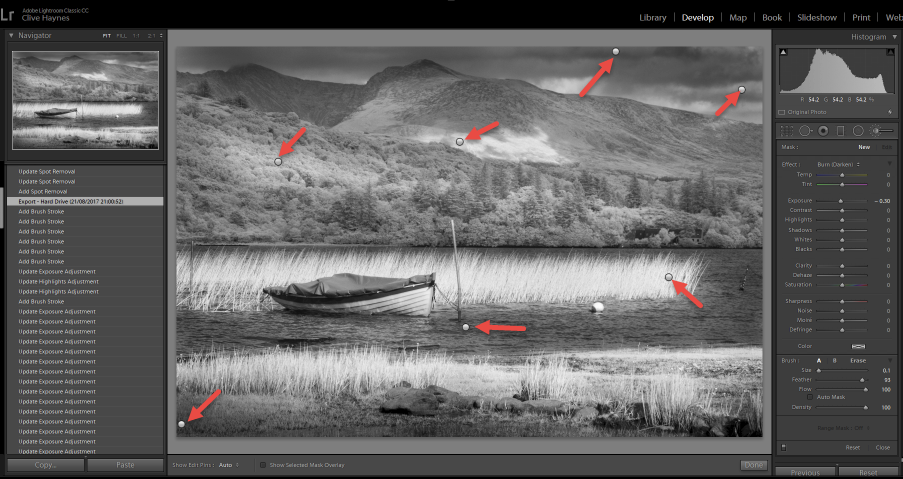
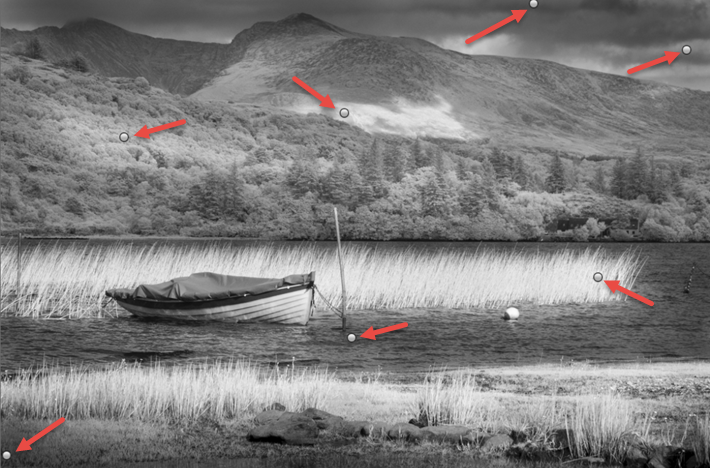
To give some idea about the areas that required attention I've leaped forward to the almost completed image to show each part of the picture that received adjustment.

There are seven principal areas to which I applied an Adjustment Brush and each starting point is made visible by the Lightroom function to reveal the 'pin' positions (white thumb-tack / drawing-pin looking icons) shown above.
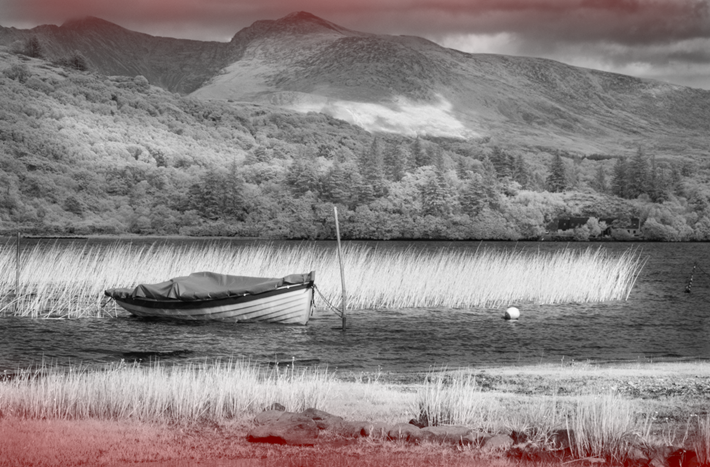
The following screen-grabs show these in more detail using the 'Mask Overlay' facility in Lightroom.

The RAW file displayed a good range of tones which could be expanded to provide richer blacks and highlights containing texture.
After converting to Black & White, my initial assessment required me to reduce the exposure of both the sky and the base to improve the balance, depth and drama of the scene.
I began by darkening ('burning-in') the upper sky and lower foreground by setting the Adjustment brush to minus 1.36 stop.
See below.
