Lab Mode & False Colour using Photoshop CC
Continued
Clive
R. Haynes FRPS
To allow flexibility and re-editing, follow this route:
With the Background Layer Active:
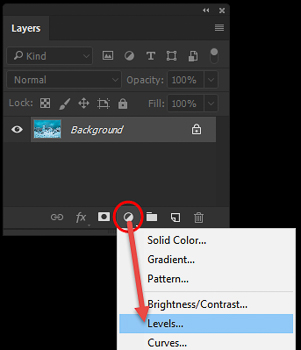
Go to the Adjustment Layer Icon (base of Layers Palette) and choose Levels. See below.
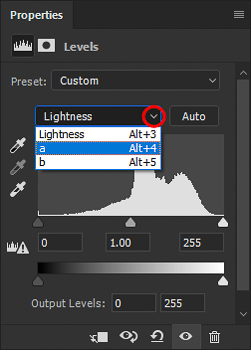
In the Levels Properties Palette, change the Channel from Lightness to (channel) 'a'. See below.
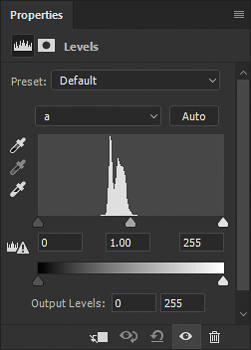
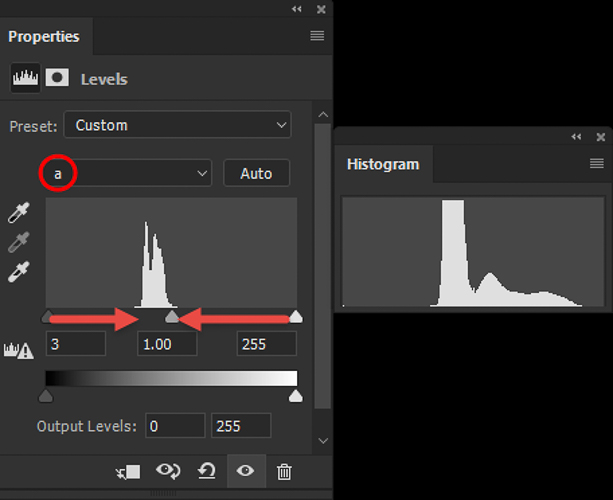
Move the left and right 'triangle' cursors to one each side of the narrow ('a' Channel) histogram. This has the effect of broadening the histogram and revealing the range of magenta/green.
The accompanying Histogram 'grab' illustrates the expansion. The midpoint 'triangular cursor' is also available for adjustment. Experiment with this.
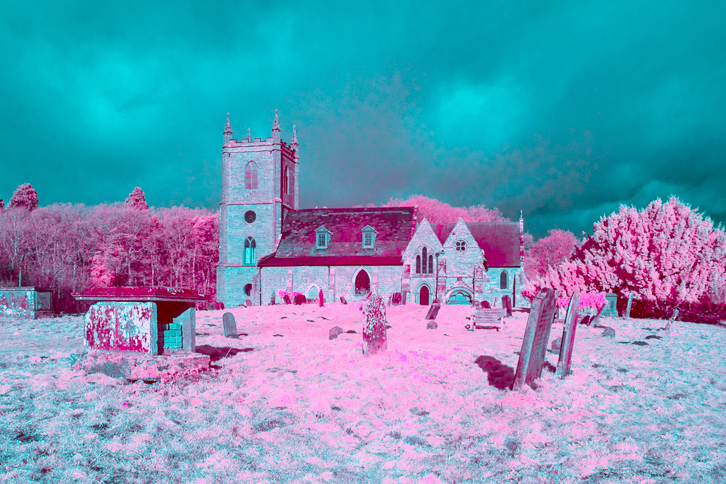
Next: Expanding the 'b' Channel
Remaining in the 'Properties' palette select the 'b' Channel and make a similar adjustment. This will affect the blue/yellow range.
For illustration, the image below has been separated from the composite view which would otherwise show the combined result of 'a' and 'b'. If you begin with the 'b' Channel then you will see the blue/yellow colour range first.
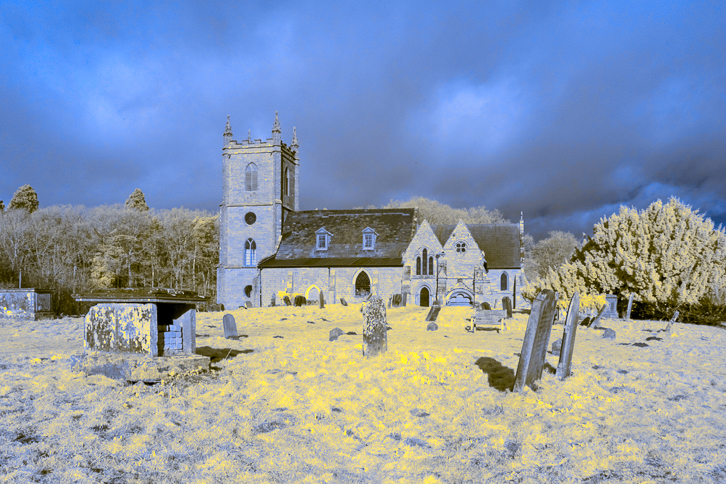
Whichever Channel you start begin with you will see the effect of either 'a' or 'b' first. If you like what you see, you don't have to adjust the other Channel.
Below is the initial result of adjusting the 'sliders' for 'a' and 'b' Channels
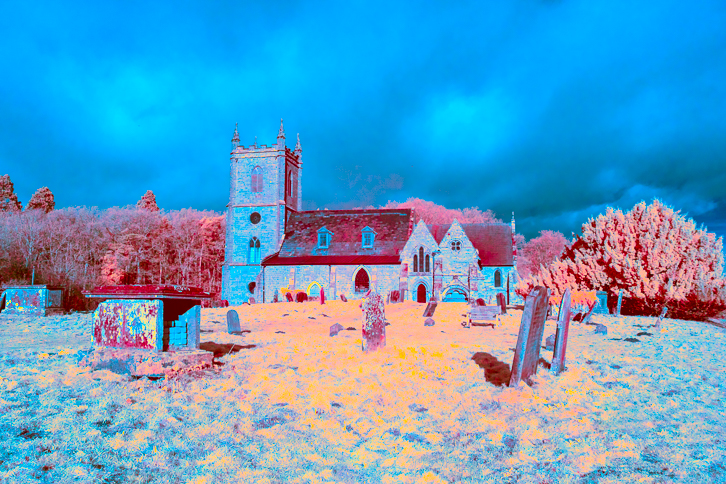
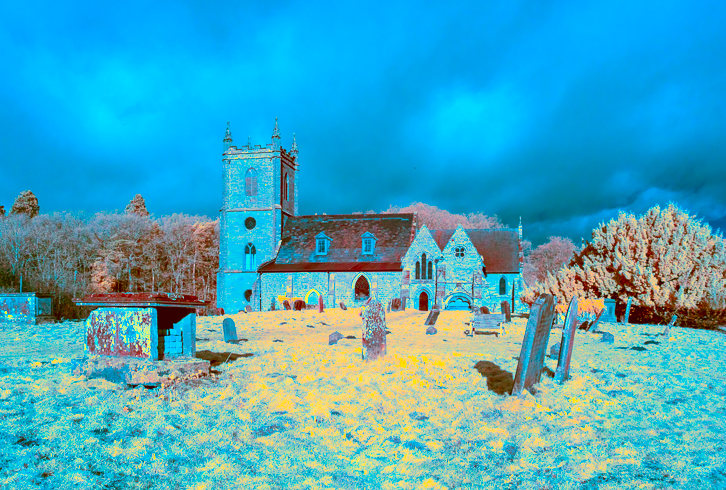
Above: The result of 'tweaking' the right hand 'slider' for the Histogram the 'a' Channel
to emphasise yellow
Just in case you are wondering, the 'Output' Levels (greyscale) slider in the Levels Palette can also be adjusted, the two cursor points even crossed-over to create a 'negative' output. This is something else to experiment with.