Lab Mode & False Colour using Photoshop CC
Continued
Clive
R. Haynes FRPS
As this is an Adjustment Layer for 'Levels' it's possible to return to the individual 'a' and 'b' Channels to alter the settings.
There's also a Mask associated with the Levels Adjustment Layer which means parts can be selectively hidden (black f/g colour) and revealed (white f/g colour) by using a brush tool. Shades of grey will alter the transparency of the setting. All standard Layer Mask practice which I need not go into here.
To see the effect of either the 'a' or the 'b' Channel, go to the Channels Palette and click the associated eye icon off and on to reveal what each Channel is contributing. Here, as a reminder, is what 'b' Channel alone shows.

By the way, should you want extra control to individually mask the 'a' and 'b' Channels then you would create an Adjustment Layer one for each Channel, setting one Adjustment Layer for the 'a' Channel, the other for the 'b' Channel.
Further refinements and variations cab be introduce by using Adjustment Layer for 'Curves' where, once again, the 'a' or 'b' Channel can be addressed.
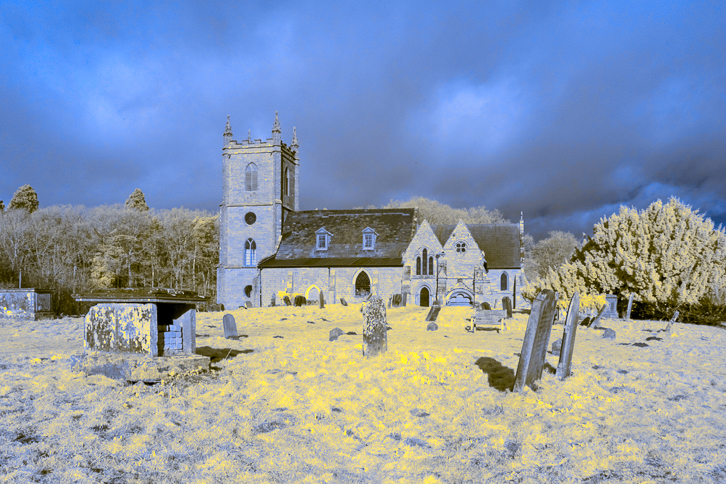
The image below while not 'great art' by any means, presents some idea of what can be achieved.
As with so many methods, experimentation is key.
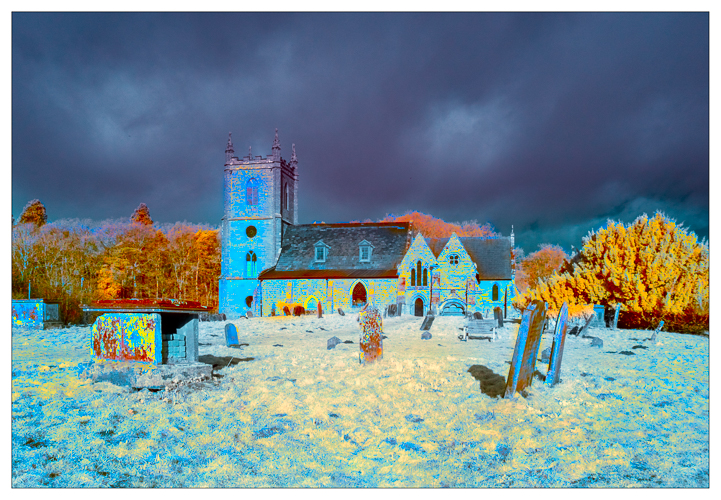
The image below is the result of adding a Curves Adjustment Layer to selectively darken the sky and using the Layer Mask for the Levels Adjustment Layer to 'paint out' some areas of colour. I doubt this would win any prizes but the result is colourful and serves to illustrate the amount of colour available within the IR capture.
