The 'Art
History Brush' ![]()
Clive R. Haynes FRPS
Notes for pre CS6 Versions
If you are arriving at this page as a 'starting point' and you're uncertain about using 'History', it's options and the general operation of the 'History Brush', please click this link to the introductory page:
History Brush
You may also find that an appreciation of 'Future History' may help.
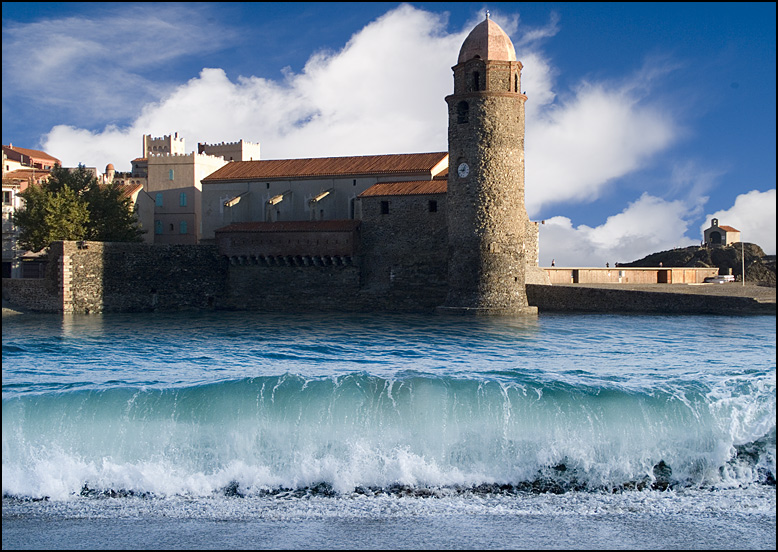
Art History Brush Project File
However please note that the file will contain an image to download and, that although 'compressed', the download time will be longer than for a simple page of information.
Many people experiment with the 'Art history Brush' only to find it somewhat wayward and difficult to use. I hope these notes will encourage you to discover more about this interesting, creative and expressive tool.
If you are interested in purely factual 'record' styles photography then this tool will probably not be for you. However if you enjoy experimenting and creating very different, expressive, non-figurative and painterly types of pictures, then this brush will introduce you to a new range of options.
The following notes are a basic guide to using the 'Art History Brush', as very soon you will discover that the imagery created very much depends upon how it is mixed, blended, merged and generally managed between successive 'painterly layers' and/or with the original image.
The suggestions that follow include references to features such as 'Layer Masks', 'Adjustment Layers' and 'Blending Modes'. If you are unfamiliar with any of these features, it would be advisable to discover more about how they operate.
Using
the Art History Brush
Open the chosen image, make any basic tonal adjustments,
cloning, etc then in the History Palette click on the 'state' that you wish to
use as the 'source' for the 'Art History Brush'.
By clicking in the small
box next to the 'eye' on the layer, the History Brush icon will appear.
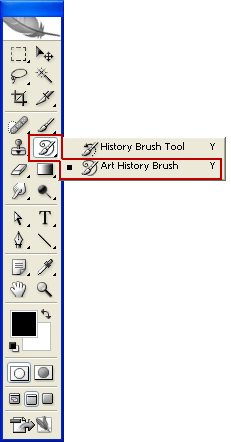
Locating the Art History Brush
From the Tool Bar, select the Art History Brush - it's combined with the 'History Brush' Tool
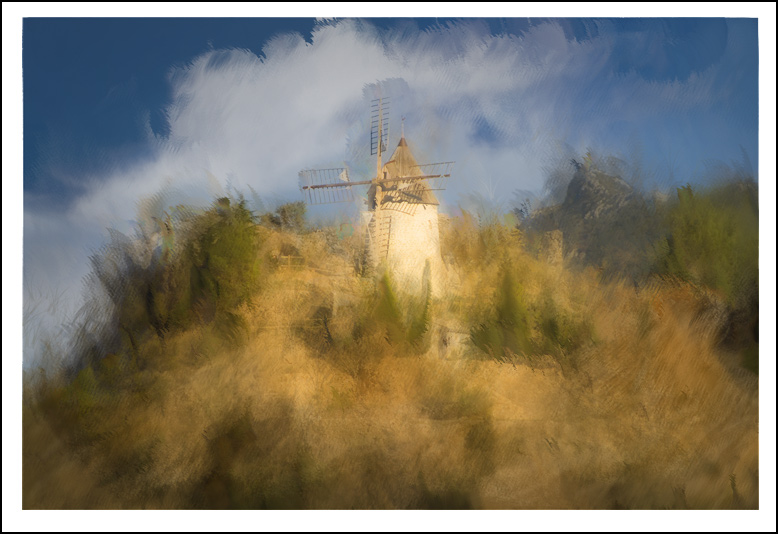
What follows is a sequence of work to provide an 'artistic effect' - one that will separate the image from photographic reality and imbue it with a personal expression of mood and texture. However, please remember that results are dependent upon factors such as, image size, brush size, opacity, blend, layer order, stroke direction, brush type and how the brush is 'edited' - not forgetting your own personal visualisation of the scene!
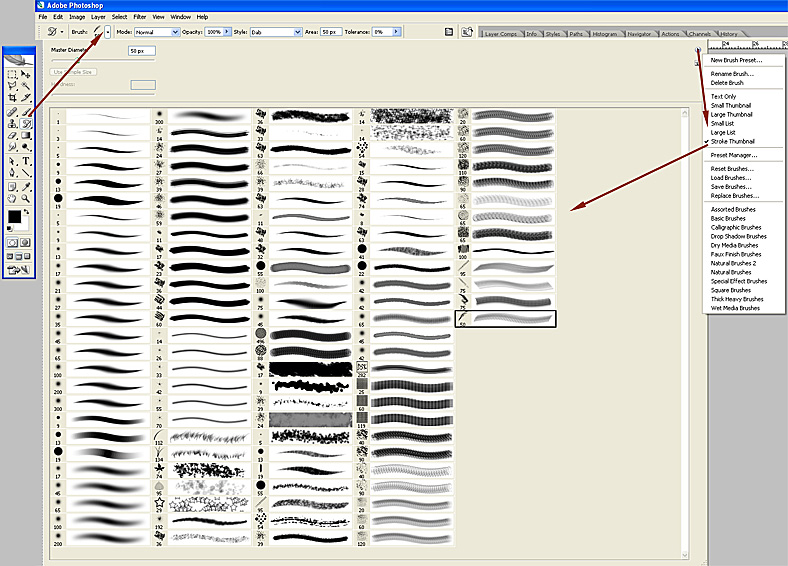
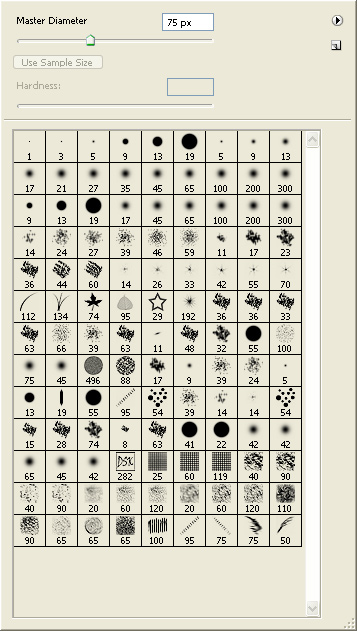
This same drop-down menu allows you to choose how you display the brushes to aid your choice. Hovering over a brush icon reveals its name. See the two 'screen-grabs' below:
My intent is for a mild artistic rendering which leaves a romantic photographic impression rather than a stridently 'arty' appearance. Close-up views in following pages will illustrate the brushwork in greater detail.
The principals involved in working with this image will help with your use and appreciation of the 'Art History Brush'