Masking Techniques
Using Channels
Clive R. Haynes FRPS
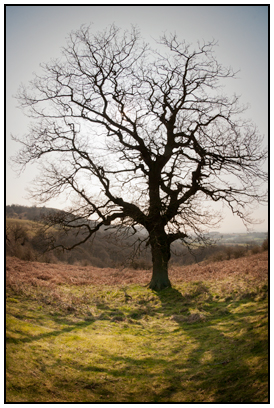
Masking is very much image-content dependent and as such there's no single definitive method for producing the ideal mask. The objective is to make a strong contrast (ideally black & white with little or no tones of grey) mask from the image which will serve to produce a selection'.
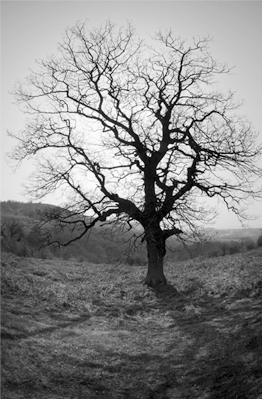
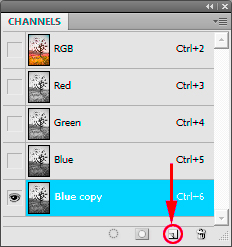
Open the Channels palette and click on the each of the Channel thumbnails in turn to determine which of the three Channels (Red, Green Blue) offers the highest monochrome contrast and separation between the parts of the image you wish to separate (perhaps between a tree and sky). In this example, the Blue Channel was preferred.
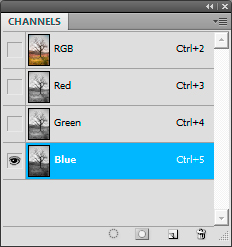
With the preferred Channel active make a copy of it by dragging the channel thumbnail onto the New Channel icon (left of the Trash bin) at the base of the Channels palette. This will show as a copy in the Channels palette, such additional Channels are known as Alpha Channels'.
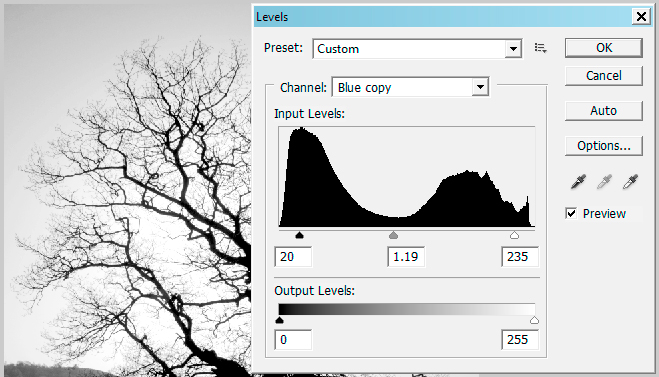
Go to Image > Adjustments > Levels. Tweak the Levels setting to boost the contrast. Try moving the left-hand (Black set) slider beneath the histogram to around a value of 20, then move the right-hand (White set) slider to around 235 or so. This will boost contrast and provide better separation of tones. Click OK'. Se below.
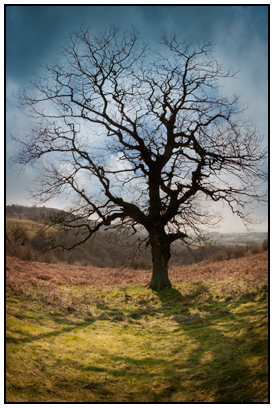
Return to the Channels palette and click on the RGB thumbnail to restore colour to once again view the image in full colour mode.
NB. If you accidentally click on the eye icon for the RGB Channel, a red mask will appear over the entire image. To deselect the red mask, click on the eye icon for the Channel copy you have just made. Deactivating this Channel will fix the problem.
From this point there are a couple of options, please click on the link below......