Digital Make-Up
(Photoshop Later CS & CC)
Clive R. Haynes FRPS
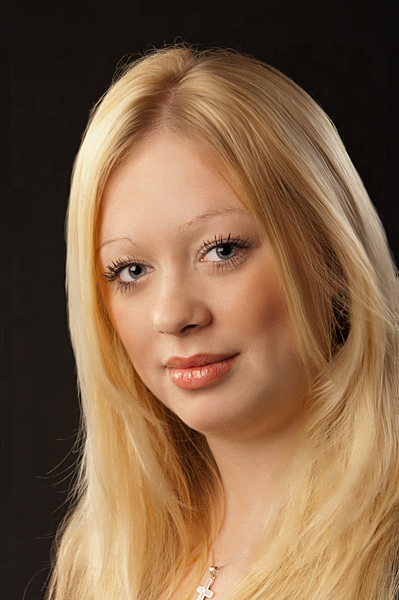
A portrait can sometimes be enhanced by the use of make-up. Naturally the subject will have provided herself with make-up or perhaps not but occasionally there's a need to either add make-up or to change the make-up in some way.
In this 'how-to' we'll look at applying make-up for eye-shadow, a blush for the cheeks and an slight alteration to lipstick colour.
Firstly, I lay no claim to being an expert in make-up and secondly, to make the illustration more evident, I have boosted the level of make-up a little. In reality for this model I would be a little more subtle with the colour.
.png)
.png)
OK, let's make a start.
Open your image.
I'm going to begin with adding some eye-shadow.
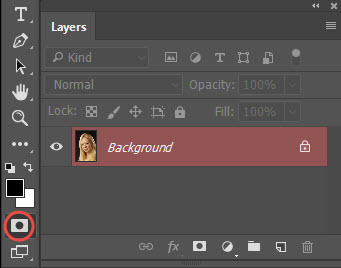
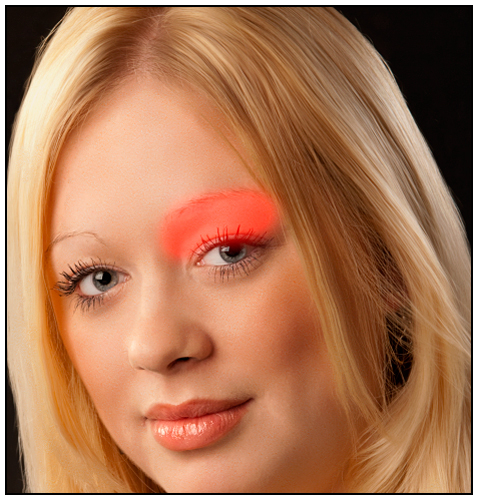
To define the area for work, I'll make a selection using Quick-Mask
Clicking upon the Quick Mask icon to activate the tool will, in CC versions of Photoshop, cause the display for Layer you're working on in the Layers Palette to become reddish in tone..
The great thing about Quick Mask is how easy it is to use, especially if you're presented with a difficult or awkward selection to deal with.
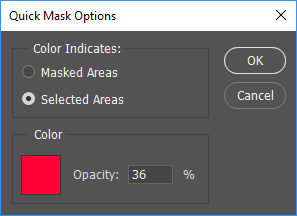
The default condition for Quick Mask is a 'mask', that's to say it will protect the chosen area(s). However by double-clicking the Quick Mask icon this can be swapped to 'Selection' so the chosen area(s) will become 'active'. See below.
When you use Quick Mask you'll notice the default colour will be red. This can be swapped to another by the Colour Picker, see below. (The default red refers to darkroom-based photography where to protect areas of the print from chemical changes (development, toning, etc) a quick-drying rubber-like solution can be applied to the surface of the paper. Known as 'Rubylith' it's typically red in colour).
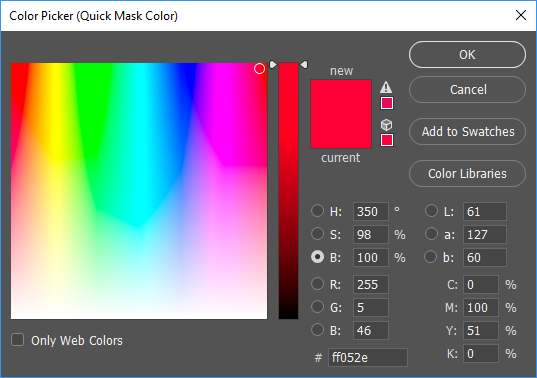
Being able to swap Quick Mask to another colour is helpful, especially when the area under attention is itself red.
The area to be either masked or selected is defined by using the Brush or Pencil Tool. When using the Brush, the 'hardness' of the brush will control the 'feathering' of the selected area, a useful feature.
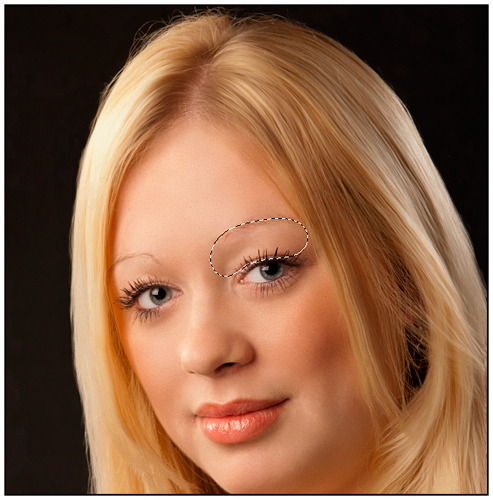
Above:
Marching Ants defining the selected area after Quick-Mask applied.
Notice that the edges of the selection will be within the outer
limits of the soft-edge as the selection marquee only defines the area
that is greater than 50% opacity but don't worry, the soft 'feathered'
edge will be retained as you'll see in the next step.