Luminosity Masks continued
Clive R. Haynes FRPS
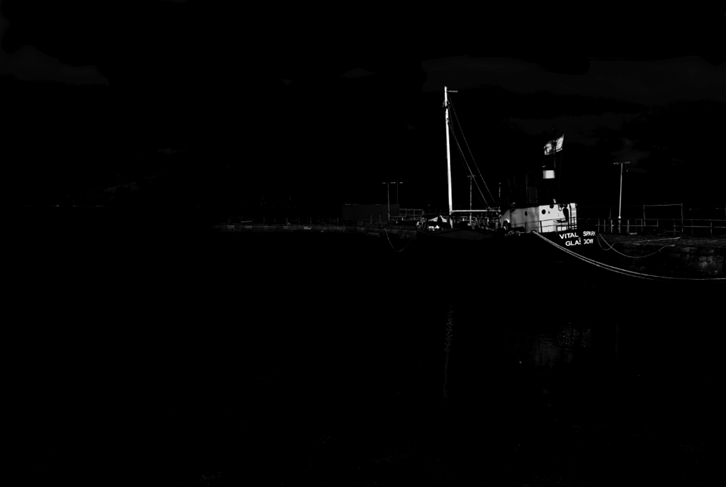
Continuing with the example image, Ctrl-clicking on Channels 'Highlights 5' precisely selects the areas I wish to control. In this instance I wish to darken them slightly
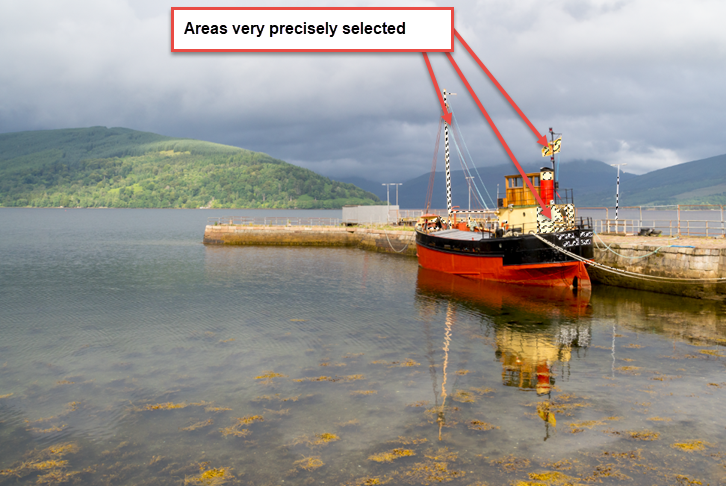
Extra information for making an even more refioned selection: It's OK to skip this bit and jump to the next part lower down this page - scroll down a littlke way to the word Continued..........
However, if you stay with it, the method is very useful when needed.
The Luminance Mask (below) reveals some grey tones in the clouds. Should these have appeared as part of the 'selection' and in this instance unwanted, it's easy to paint these grey tones out with a Brush tool using black as the foreground colour. Before starting to paint on the mask, deselect the 'marching ants'.
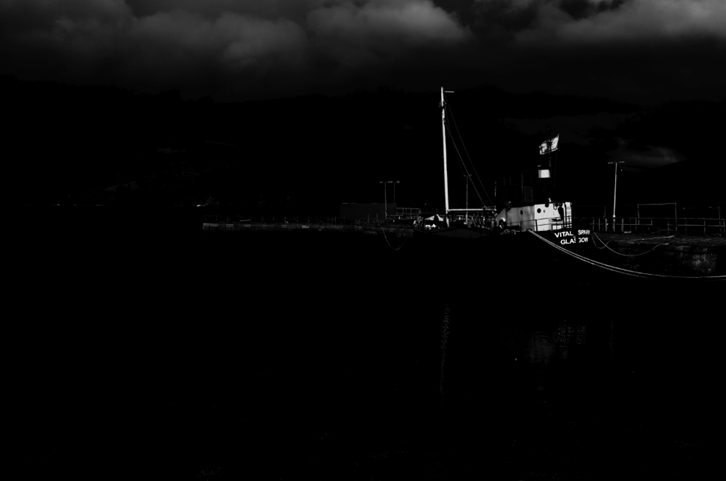
Here's a super tip:
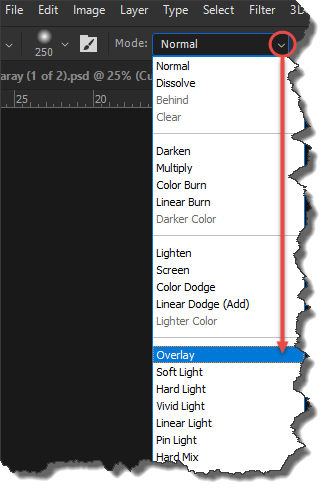
To paint out any area use black Foreground colour with the Brush tool Blend Mode set to 'Normal'.
To avoid over-painting white areas you wish to maintain, change the Brush Blend Mode to 'Overlay'
To increase the brightness for white areas that are above mid grey but not quite white, swap to the foreground colour to white and again use 'Overlay' Blend Mode.
Continued...............
To select Alpha Channel 'Highlights 5', Ctrl-click the Channel thumbnail and Marching Ants appear.
With the 'marching ants' (selection) still running, return to (click on) the Channels RGB thumbnail.
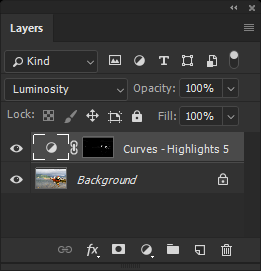
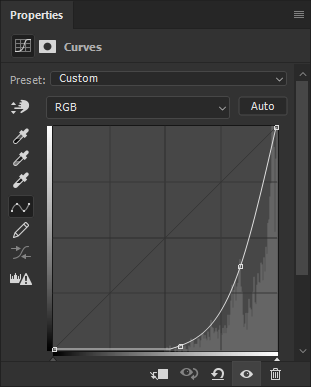
An Adjustment Layer can now be added to the Layers palette. I chose 'Curves' and toned down the selected highlights. This is precision working. To maintain colour fidelity I changed the Blend Mode to 'Luminosity'.
See both screen-grabs below.
