Making 'Lightning'
Clive R. Haynes FRPS
Making the 'lightning bolts'
Start with the Background colour Black (and the Foreground, white).
Create
a new, blank, canvas:
Go
to File > New >
In the dialogue box that opens, put in the size of the
'canvas' that you need. Ideally the ppi should be the same as the image the lightning
is intended for. Make the width & height any size that suits but I suggest
width, 28cm and Height, 20cm (this is A4 size).
Details of dialogue box below.

Click 'OK'
(Should you forget to create the new canvas with black as the Background colour, you'll need to fill the canvas with black via, Edit > Fill > Use > Black > OK).
Next:
Go
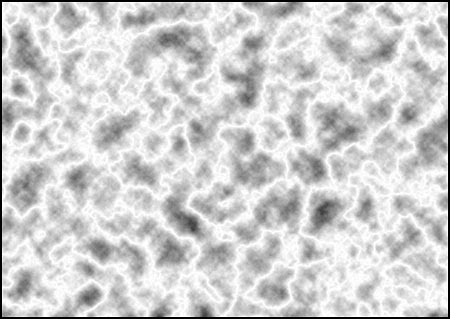
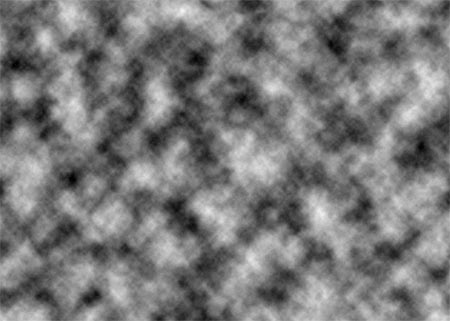
to Filter > Render > Difference Clouds.
'Clouds' appear.
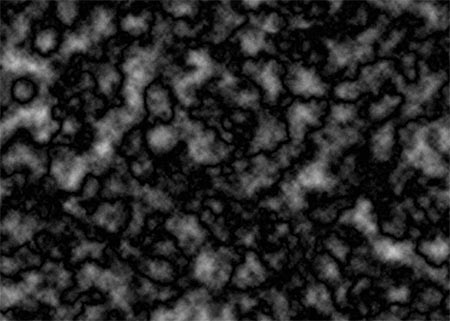
We
now need to make a 'negative' image, by choosing 'Invert'; do this by Ctrl + I
(quick key for Image > Adjust > Invert)
The image becomes a 'negative'
version.
See below