Making 'Lightning' continued
Clive R. Haynes FRPS
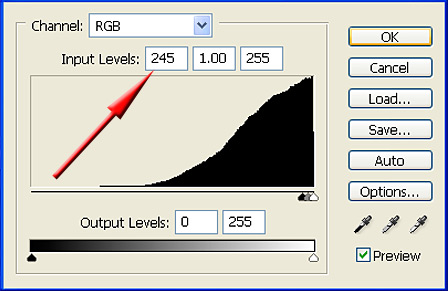
Go to Image > Adjust > 'Levels.
Set Input Level to amount 245.
Go to:
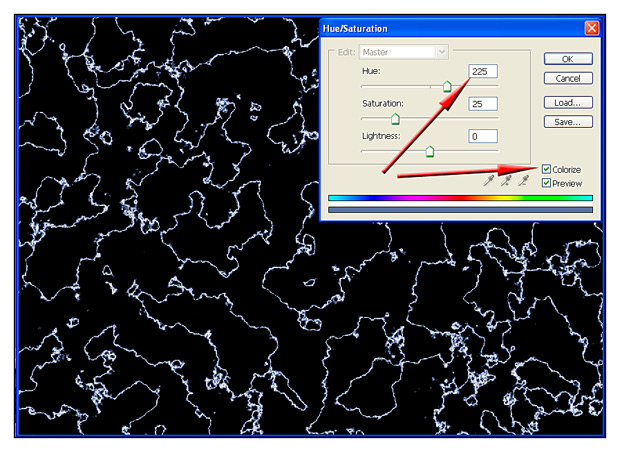
Image > Adjust > Hue & Saturation.
Tick the 'Colorize' box, then
Set the Hue slider to around 225
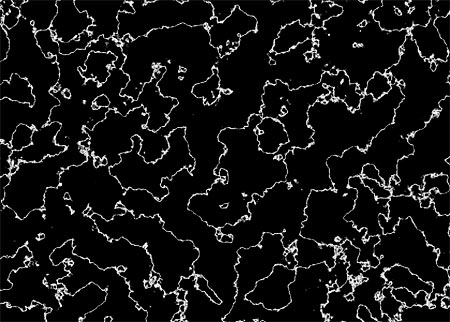
Look at the various 'lightning' shapes and find a likely piece of 'lightning' and with the rectangular marquee tool, make a rough selection around it. Don't worry if you include unwanted bits - these can be removed later.

Adding
the Lightning
Open
the scene to which the lightning is to be added.
Edit > Paste.
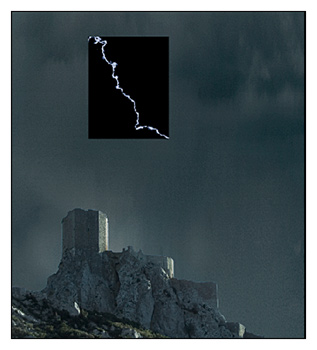
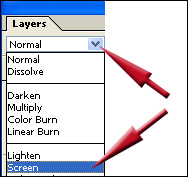
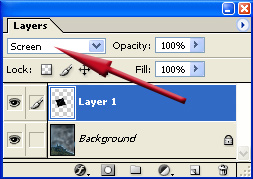
To eliminate the black area, change the 'Blend Mode' of the layer to 'Screen'. Do this by clicking on the drop-down arrow to the right of the word 'Normal' (situated below the Layer 'tab' - top LH of Layers Palette) and from the list that appears, choose 'Screen').
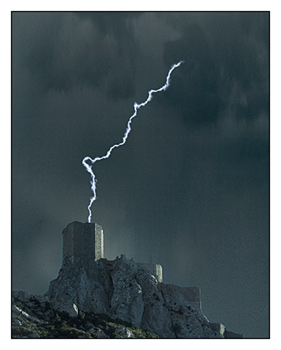
The 'lightning' now looks to be more the part.
Use the Edit > Transform menu to rotate and shape the 'lightning' to the correct position.
Use
a 'Layer Mask' to remove unwanted sections of 'lightning and to create an effective
merge with the scene.
(You could, of course, use the Eraser Tool but it's
somewhat inflexible in use).
If you're unsure about Layer Masks', more
info is available via the link below
Add more lightning bolts for more elaborate effects.