Digital Infrared Capture & Workflow
Adventures with Lab Color Mode continued
Clive R. Haynes FRPS
After once again returning again to the example image starting point, we'll look at a further step
This is a useful refinement to control both 'a' and 'b' Channels in the same dialogue box.
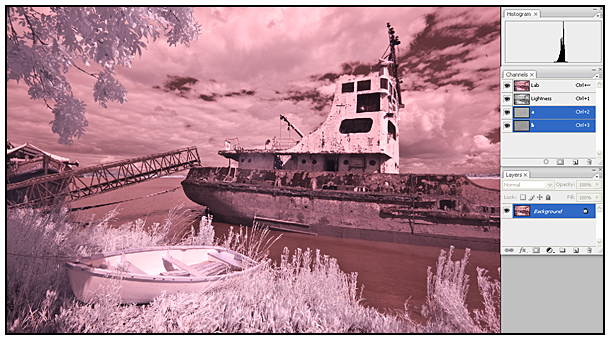
Begin by activating both Channel 'a' and Channel 'b' - do this by clicking on Channel 'a', then shift-clicking on Channel 'b', see below:
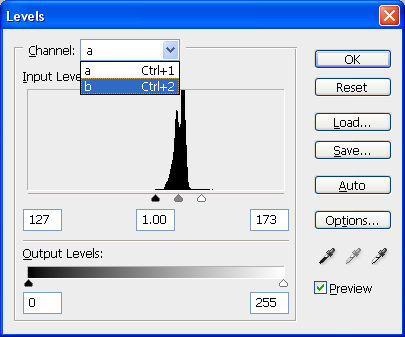
Go to Image > Adjustments > Levels.
Click on the drop-down arrow adjacent to the word 'Channel', this will reveal a choice for the independent adjustment of 'a' and/or 'b' Channel, see below:
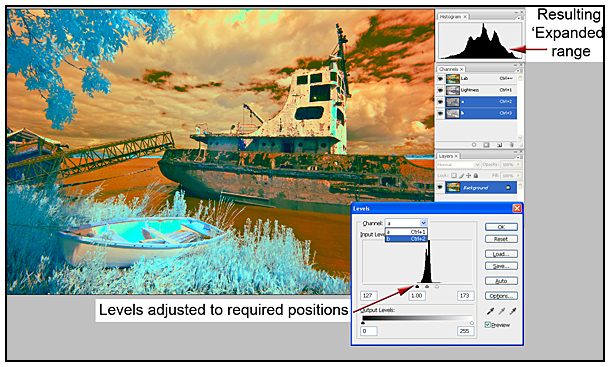
For finer adjustment and extended control of tone I suggest that you choose 'Curves' from the Image > Adjustments menu.
The Adjustments menu also presents other options - where the humble 'Brightness & Contrast' is worthy of exploration.
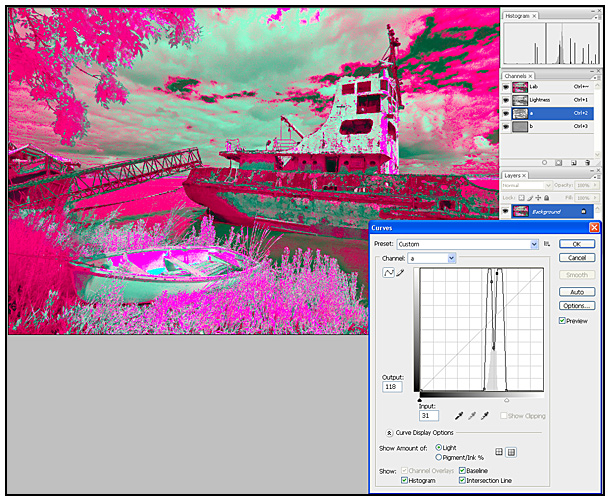
For those who enjoy a not-so-subtle approach, a wild example of 'Curves' applied to 'Channel a' is shown below:
For comparison, the straight 'Channel-Swap' image is shown below.
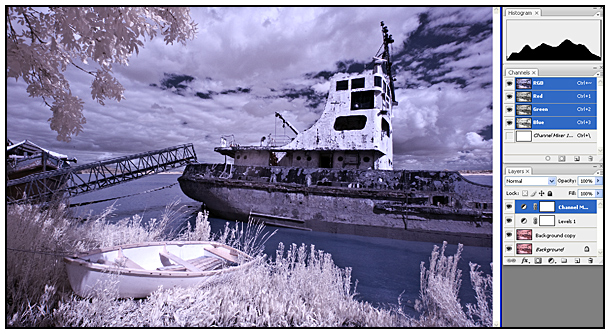
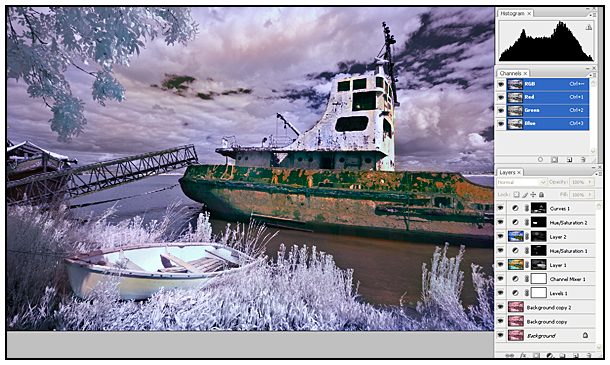
I could continue to present ever more variations to Lab Channel adjustments; however it's best if you begin to experiment with your own images. To complete this section, I include a more fully worked example of the image.
From the screen-grab below, you'll notice that the Layer structure is more complex. The various Layers include tonal variations based upon the methods described, Layer Masks and Adjustment Layers for both Curves and Hue & Saturation.
Click the link below to continue and discover information about 'Working in Monochrome'