Curves
Clive R. Haynes FRPS

Above:
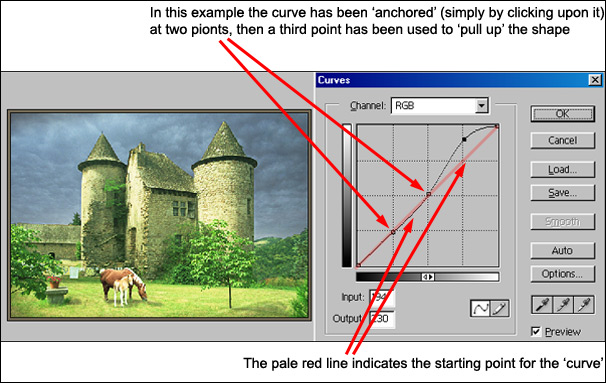
Let's examine what's happening in the dialogue box above.
The pale red line
indicates the starting point for the curve - we can refer to this as the 'normal
position'. Any distortion or movement from 'normal' will affect the image in some
way. It's a good idea to always bear in mind the original slope of the line from
corner to corner when making changes to the shape of the curve. The changes can
be mentally related to the starting point.
As mentioned previously, some
people place a pen on the monitor screen from corner to corner to see just how
far from the straight line they have moved the 'Curve'.
By clicking on the line before we moved the upper section, two 'anchor points' were secured. You'll find when bending the curve that it's a bit like a seesaw, moving one part affects another so 'anchor points' keep unwanted distortions to a minimum.
In the example above, the upper-mid and lighter tones of the image have been lightened, whilst the lower mid-tones, dark greys and black have remained constant
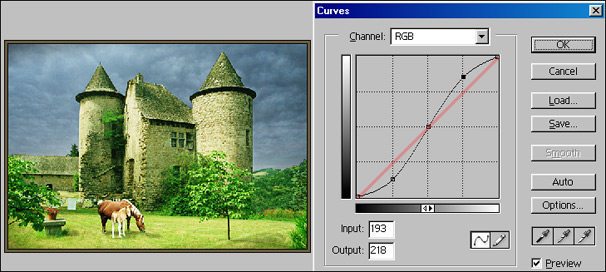
An 'S' curve is one that increases the contrast of the image and in many ways mimics the response curve of a photographic film. Sometimes it's useful to apply to an image, let's take a look.
