The 'Art
History Brush' ![]()
Clive R. Haynes FRPS
For CS6 and CC Versions
Setting the Art History ‘Reference State’
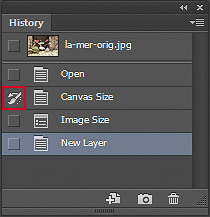
Go to the History Palette and look for the History State for ‘Canvas Size’. Click on the small, ‘greyed-out’ square for this state. The Art History Brush icon will now appear there. This will be the reference state for all subsequent ‘Art History brush-strokes.
NB: It’s essential that the last state in the History Palette (appearing ‘Master Opacity Change’) is ‘Active (that is showing as blue colour). If it’s not, click on the text for this state – not the small left-hand square! (Otherwise you’ll reset the Art History Brush!) With this ‘history state’ now ‘active’ continue.
Begin Painting.
During the work change brush size, angle and brush type to suit the line, shape, form and texture of your subject matter. Enlarge the image to work on small areas. Also change Brush Hardness when necessary. The more attention you give to detail, the better the result.
If you don’t like the look of some of your brushwork then choose another brush and simply over-paint it.
The screen-grab below shows the first broad brush-strokes. The underlying Background layer is clearly visible.
Extra Layers
As an option you can create additional layers with different painting styles and variations. You can selectively edit these layers by using a Layer Mask.
Sketch Option
An effective idea is to add sketch-like lines to the painting.
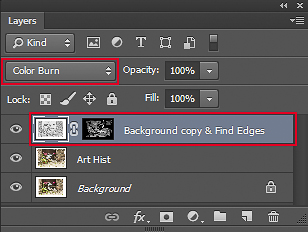
When you have completed all the brushwork, make a copy of the original Background Layer, place it at the top of the Layers Stack and apply Filter > Stylize > Find Edges.
Desaturate this ‘Find Edges’ layer (Ctrl + Shift + U or use the Mac equivalent, or go Image > Adjustments > Desaturate). Change the Blend Mode for this Layer to whichever works best, probably ‘Darken’, ‘Multiply’, ‘Colour Burn’, ‘Linear Burn’, or ‘Darker Colour’ to provide a ‘sketch’ or ‘pencil outline’ for the artwork. You can of course also adjust the Opacity of this Layer to suit the picture and make selective edits by adding a Layer Mask, working with the standard / regular Brush tool.
See screen-grab below
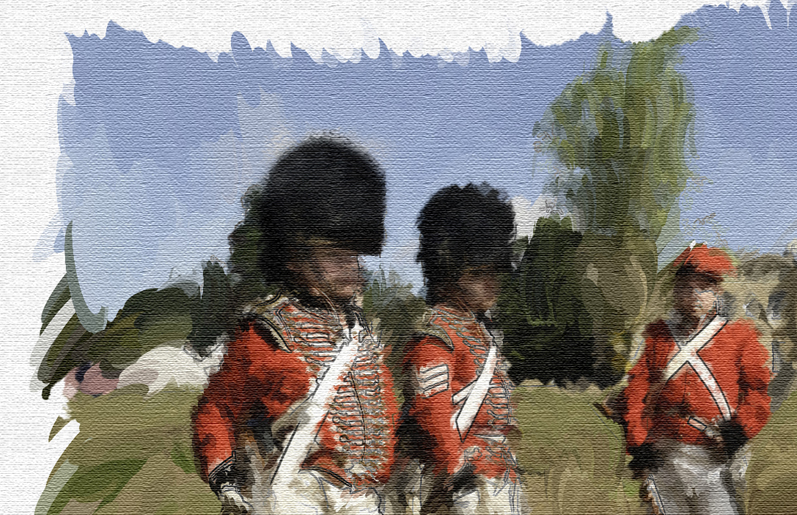
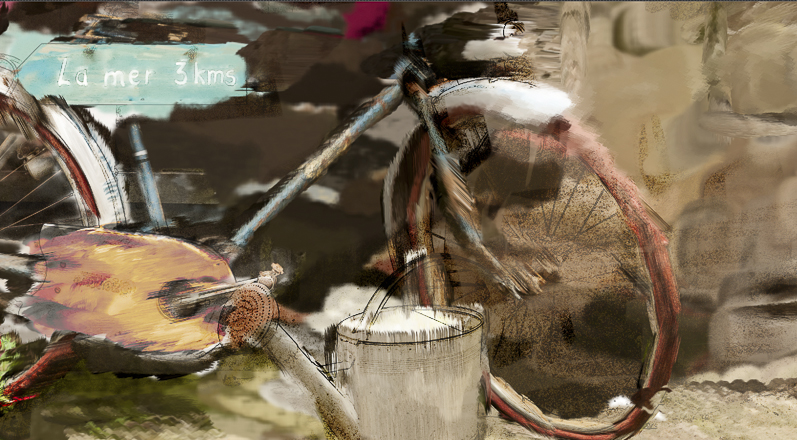
Below: Detail showing brushwork and the 'sketch-lines' by using 'Find Edges' as described above.
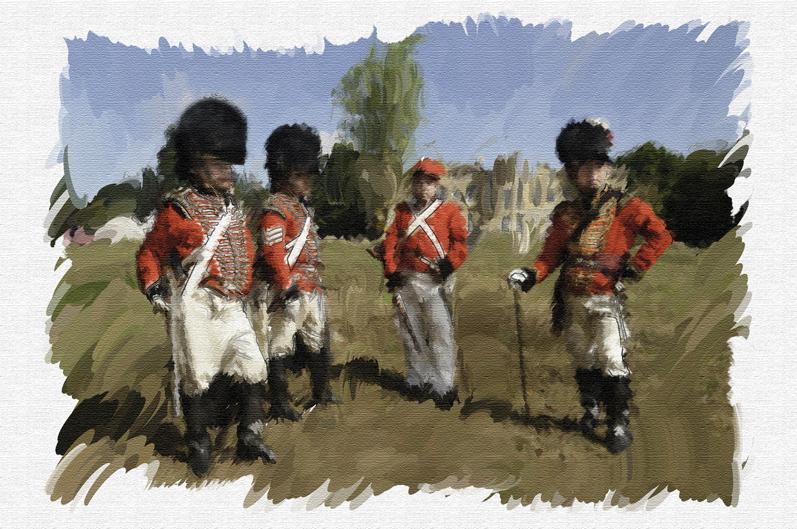
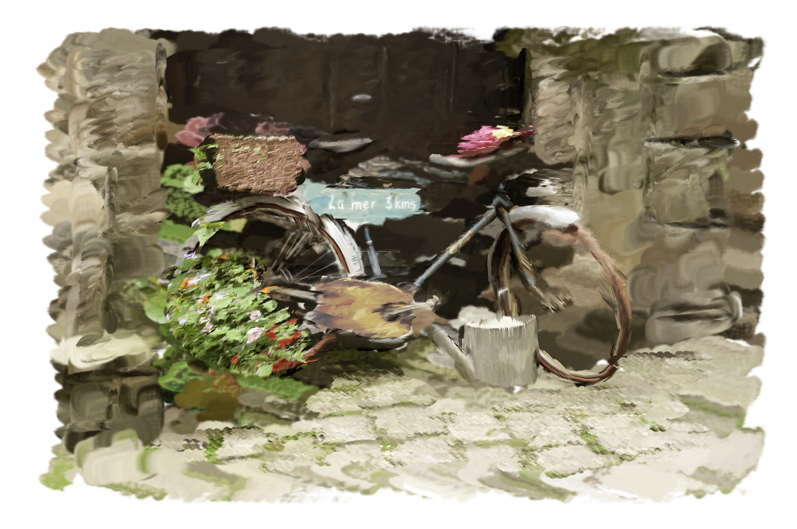
Above: the completed brushwork and 'sketch outlines'
Extras
There are a couple more useful options for your picture:
Painterly Border
Depending upon picture style and content you can add a 'painterly border'. To find how, click on the link at the end of this page.
Adding a Canvas-like Texture
This can be the finishing touch.
With the top layer active hold down Ctr+Shift+Alt and press the ‘E’ key. This will form a ‘Stamp Visible’ layer’. ‘Stamp Visible’ is a composite image layer of all layers below (with the eye-icons ‘on’).
Next: Go to Filter > Filter gallery > Texture > Texturiser > Canvas. Adjust Scale, Relief and Light to suit the picture. ‘OK’ when finished. Adjust the opacity of this Layer or add a Layer Mask to selectively edit.
Note: The canvas-like texture can often create a weird-looking moiré pattern on monitors and look rather strange. The moiré (or 'interference') pattern is only an on-screen phenomenon and will not repeat upon a print. If you see a strange pixelated or blocky-looking pattern when using this method, change the view size by zooming in or out and it will disappear. The moiré is the result of the texture/canvas weave interacting with the scan lines and/or phosphor display matrix of the screen/monitor creating what's known as an 'artifact'. In view of the unpredictable nature of the moiré pattern it's best to use the technique for prints rather than on-screen viewing.
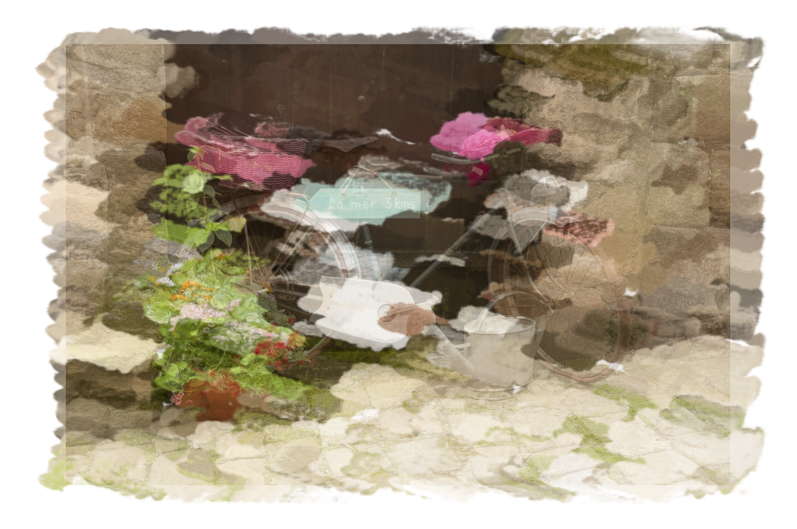
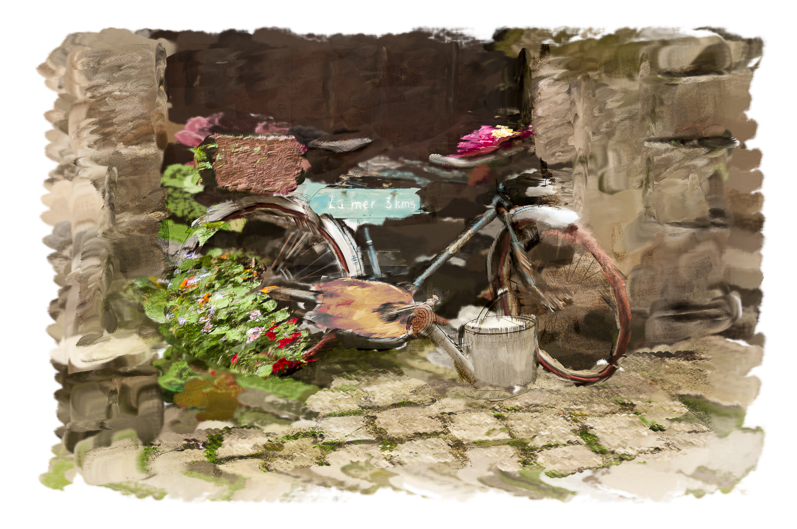
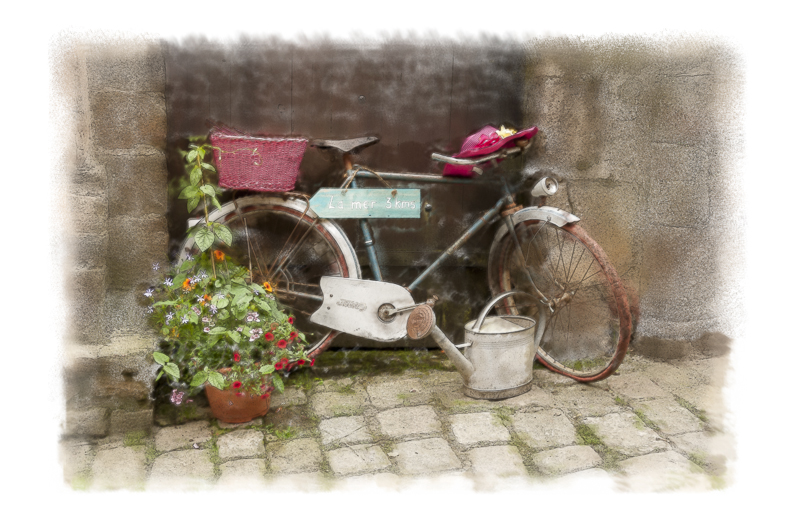
Here's a finished example showing the canvas texture (and who knows you may see the moire artifact!)