The 'Art
History Brush' ![]()
Clive R. Haynes FRPS
For CS6 and CC Versions
At last we’re ready to go and begin your ‘masterpiece!
Open your chosen image and make any basic tonal adjustments, cloning, etc
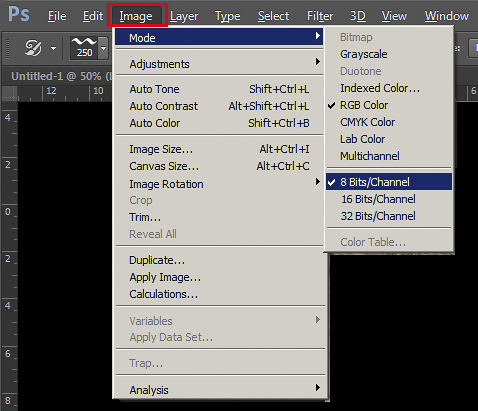
Important: If you have opened as 16bit file, change the image to 8bit. Do this via the top menu bar: Image > Mode > 8bit (see below)
The Art History Brush doesn’t function in 16bit mode.
Working on the image:
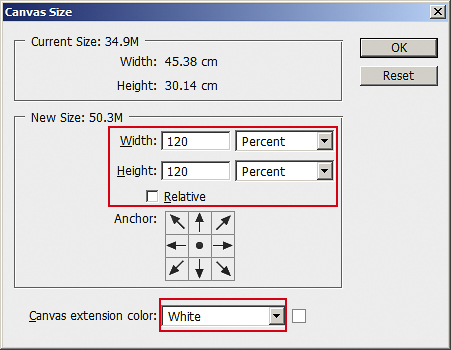
To begin, I suggest you increase the Canvas Size (via Image > Canvas Size) to 120% for both Width and Height. Make sure you use White as the ‘Canvas Extension Colour’ (un-tick ‘Relative’ in the Canvas Size dialogue box). This gives a good size border around the picture area.
Make a new (empty) layer above the background Layer. This will be the Art History Layer and it’s where the painting starts.
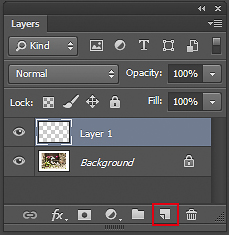
Fill the New Layer with White. Do this via Edit > Fill > Use > White > (Mode = Normal, Opacity = 100) > OK
Tip: Reduce the Opacity of the Art-History layer (the one you just filled with white) to, say, 75%. You can use it as a sort of tracing-paper to see the image below. You can restore the opacity to 100% when you wish, set it to another amount or add a Layer Mask to selectively reveal the original image – the choice is yours.
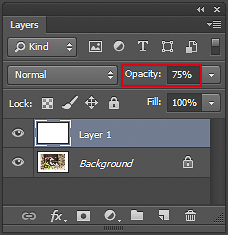

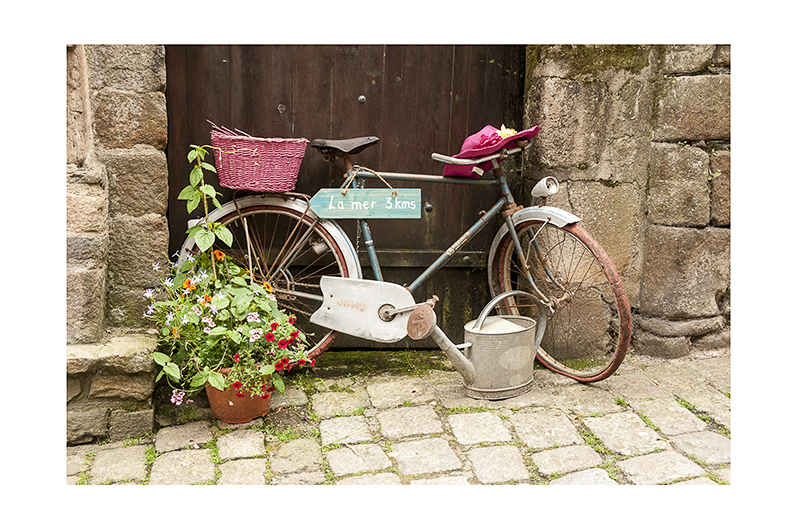
Above: Working Image with Layer 1(our Art History Brush Layer) at 75% Opacity providing
a Tracing-Paper-like appearance