Make a 'Zwirl'
Continued
Clive R. Haynes FRPS
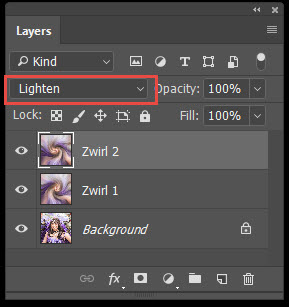
Set 'Twirl 2' layer to 'Lighten' Blend Mode (top of Layers Palette via small drop-down arrow)
Activate the original image (Background Layer) then Copy and Paste this, via Select All (Ctrl+A), Edit > Copy (Ctrl+C), Edit > Paste (Ctrl+V). The new copy layer appears.
Drag this new copy layer to the top of the layer stack. See below.
With copy (original image ) layer active, the next step is to visually fuse it with the two 'Zwirls' below. In this way parts of the original image can appear 'through' the 'Zwirl' pattern.
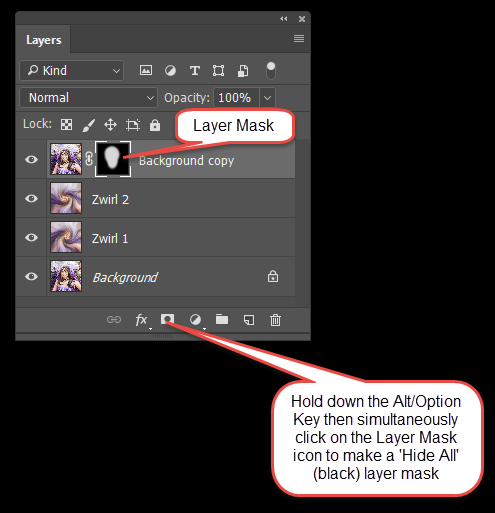
A Layer Mask will allow the subtle visual fusion of layers to be made.
Making the Fusion
Hold down the Alt/ Key whilst simultaneously clicking on the Layer Mask (small dark grey circle inside a square) icon at the base of the Layers Palette. This will make a 'Hide All' (black) Layer Mask and the image will disappear.
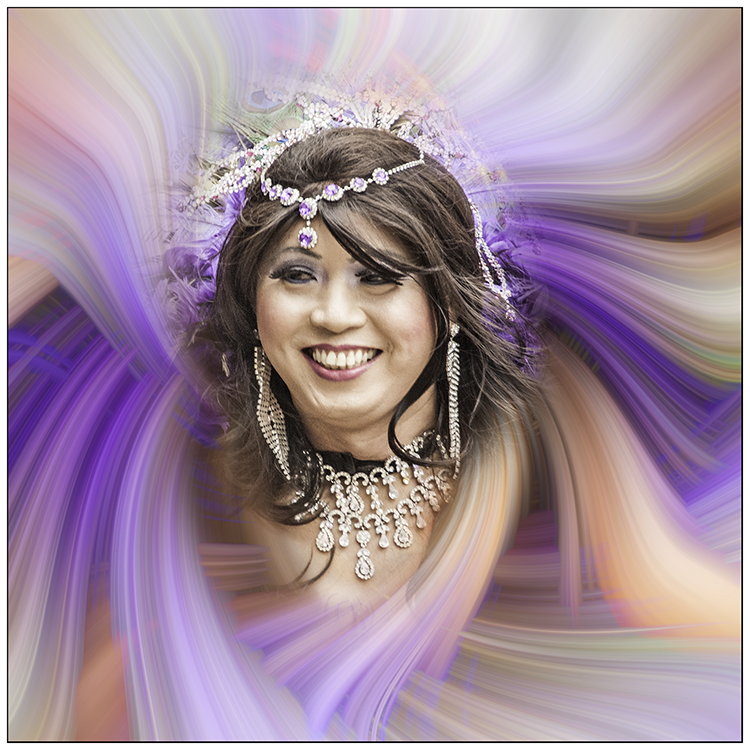
Finished 'Zwirl' image