MAKING A VIGNETTE
Clive R. Haynes FRPS
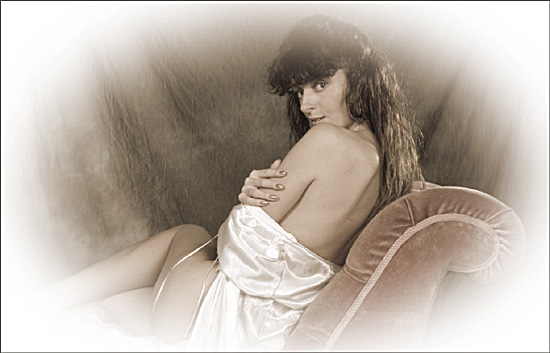
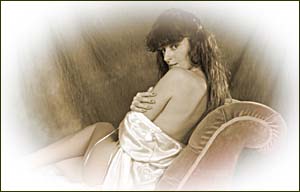
The image above illustrates the application of a vignette to a standard photo.
Vignettes are easy to do and can enhance an image by giving a 'period feel' or by suggesting an air of romanticism.
Below is a step-by-step guide about how to add a vignette to an image.
Open the image you wish to use
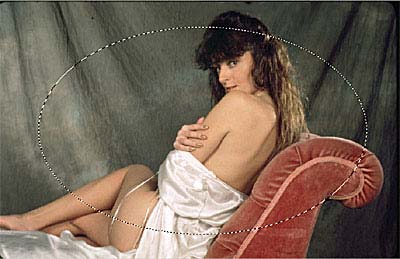
Use the Elliptical marquee tool, drag the marquee to make the shape you require.
To alter the shape of the ellipse, go to the top menu and choose Select > Transform Selection.and use the 'handles' to modify the shape. Once you're happy with the shape, click on the 'tick' ('check') icon on the Options Bar at the top or press the 'Enter' key.
The next step is to 'feather' the selection. Choose a fairly large amount of 'feathering'. How much you choose depends upon the image size and the effect you require. The image illustrated here received 70 pixels feathering but you may require more so be prepared to experiment.
Before proceeding to the 'Fill' stage, the effect of feathering may be judged by clicking on the Quick Mask icon at the base of the Tool Bar and viewing the effect. Remember to click the left Quick Mask button after viewing to return to the 'selection'.
![]() The 'Quick Mask' icon buttons. The one to the right turns Quick Mask 'on', the
one to the left returns you back to the selection'
The 'Quick Mask' icon buttons. The one to the right turns Quick Mask 'on', the
one to the left returns you back to the selection'
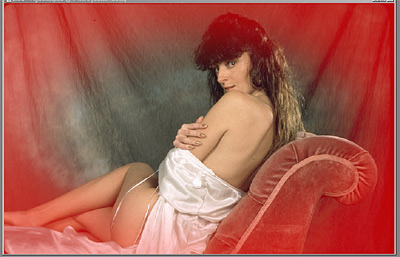
Above: The effect of viewing the proposed vignette effect with 'Quick Mask'
After returning to the 'selection', the selection must be 'inversed' (via Select > Inverse)
The next stage is to fill the selected area with the colour you need - this is often white but it can be any colour of your choice
Go to Edit > Fill > Use > White (via drop-down arrow) Alternatively, Use > Foreground Colour, or whatever. Make certain that the 'Mode' is 'Normal'.
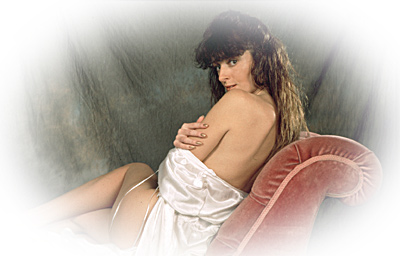
Above: The effect immediately after Edit > Fill
Next, deselect the selection (via Select > Deselect)
The next stage is for personal preference. If required, the image can be toned / colorized by going via Image > Adjust > Hue/Saturation > Colorize
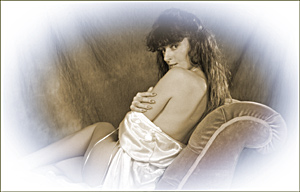
Alternatively, an interesting effect can be achieved by retaining the selection after filling with white, then 'Inversing' the selection again to make the central area 'active' - go to 'Colorize' and tone the central area. Next, 'Inverse' once more to make the outside area active and repeat the 'Colorize' operation, this time choosing a different tone. The two images below show this effect by combining sepia and blue tones.
Note: The vignette can be based on a rectangle or any other selection that you make. I've used the ellipse as it's the most popular.
 |
 |