Spot Colour
Also known as Colour Popping'
Clive R. Haynes FRPS


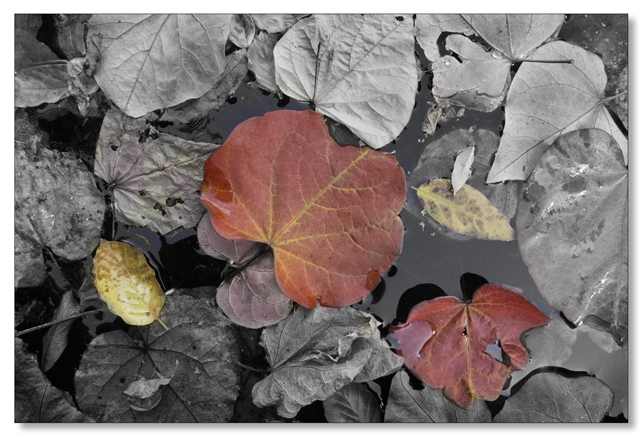
This method is very easy to do and the results can be both eye-catching and different'.
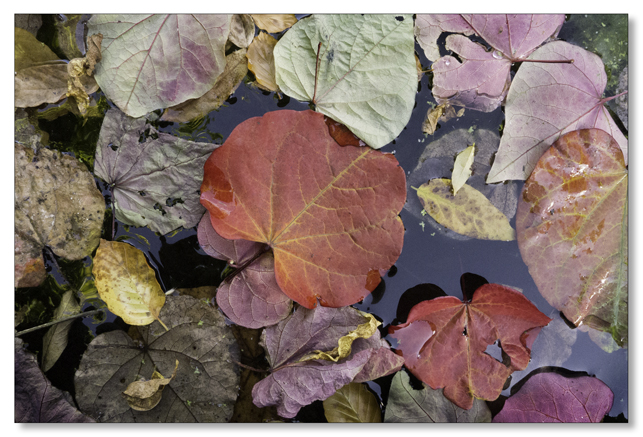
The steps that follow show how to reveal the colour content of the original image in specific areas. This has the function of concentrating the interest where you specify.
Open the chosen image
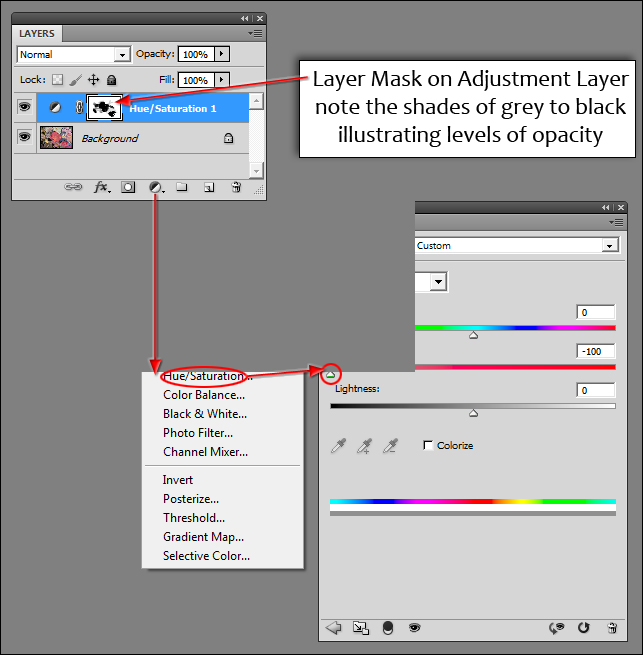
Add a Hue & Saturation Adjustment Layer. Click on the Adjustment Layer icon (half black, half white circle) at the base of the Layers Palette and choose Hue & Saturation from the drop-down menu.
Desaturate the image to monochrome by moving the saturation slider' all the way to the left.

Choose a suitable brush and with Black as the Foreground Colour restore the original colour in the areas you need it. By varying the opacity of the brush (Brush Options Menu) or by varying the pressure using a pressure-sensitive graphic pen and tablet the intensity of the restored colour can be adjusted. To remove colour, swap the Foreground Colour to Black. (Quick-Key' - use the X' key to eXchange' the F/G to B/G colour).
