Quick Mask
(Continued)
Clive R. Haynes FRPS
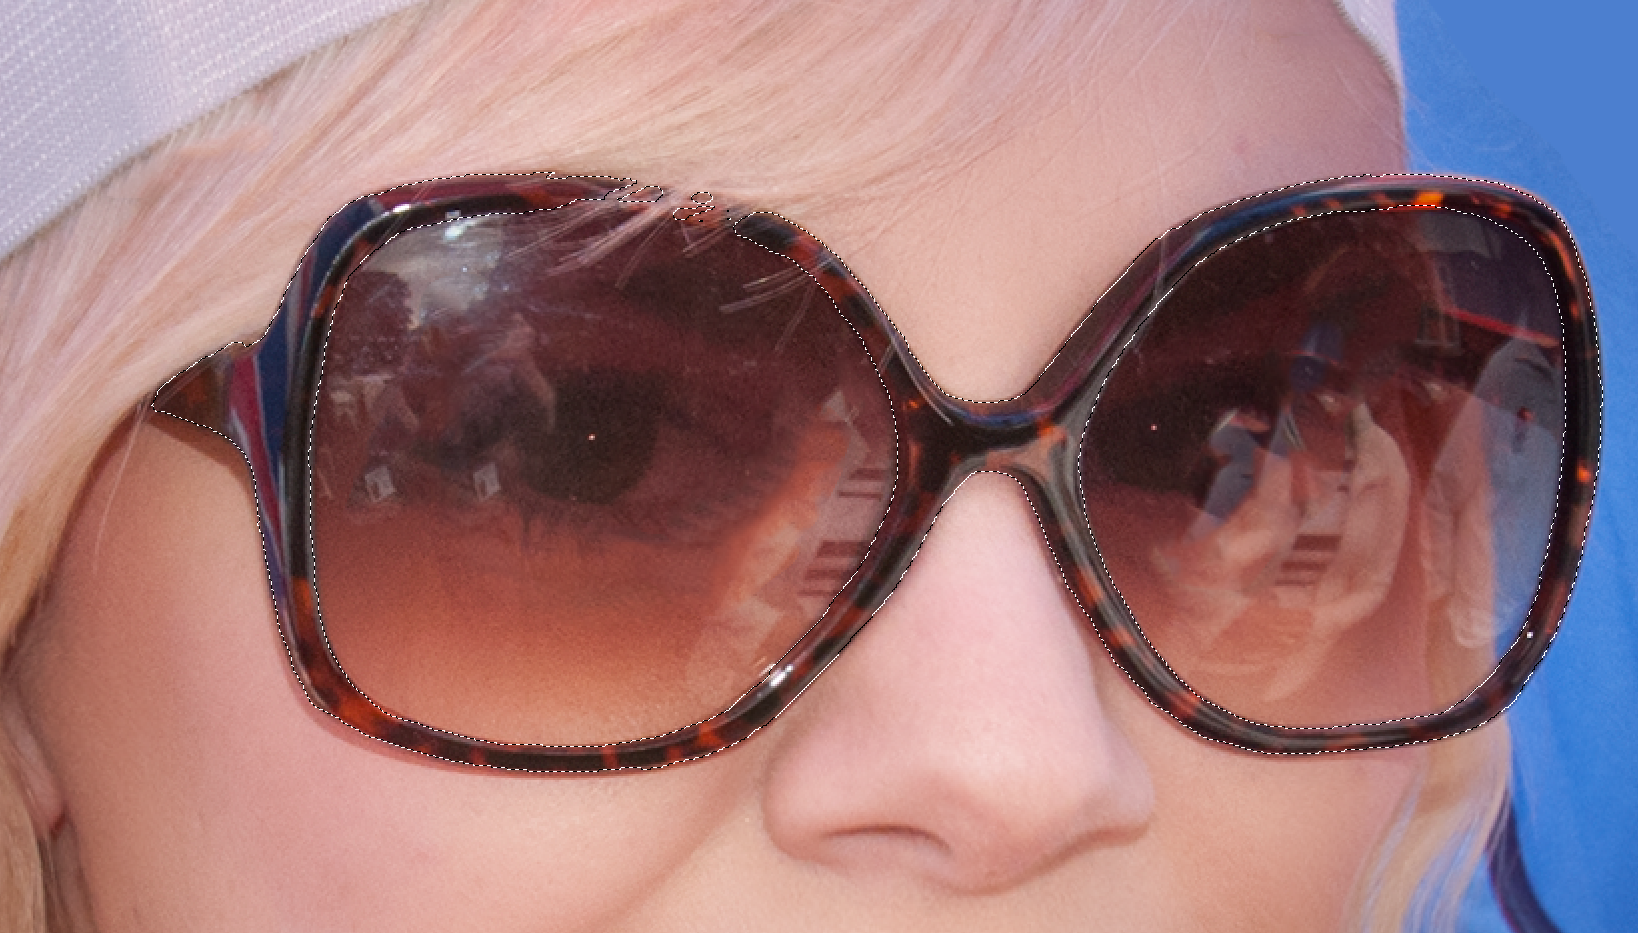
You're not limited to 'painting' a contiguous (joined up) area, because the brush can work on more than one part of the image and these parts will be masked/selected too. If you make a mistake, swap the Foreground Colour to White and by applying the brush you will erase parts of the mask. To quickly swap between Foreground and Background use the 'X' key (think of X=Exchange).
You now have the selection or mask needed as the example below illustrates.
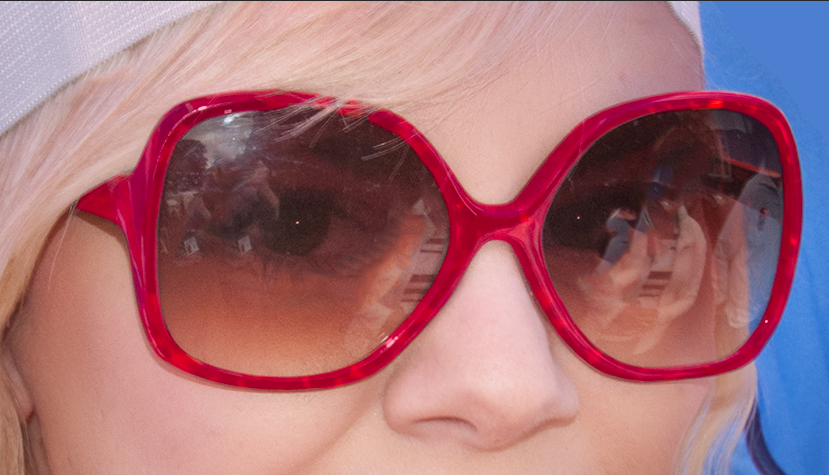
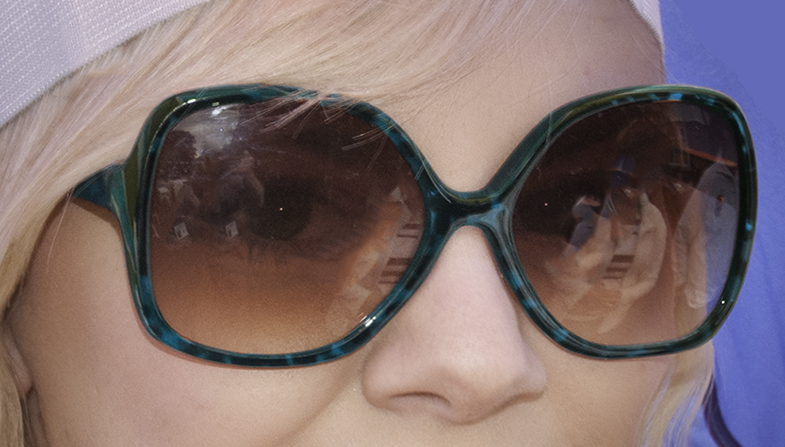
For this example we're changing the colour of the frame. The best way to do this is via an Adjustment Layer.
Click on the half black / half white circle at the base of the Layers Palette and from the drop-down list, choose Hue & Saturation. Move the Hue slider to the colour needed and adjust Saturation as necessary and Lightness if required.

.
Tip
Quick Mask it can often be useful to edit and refine a Selection made with any of the familiar Selection Tools. Once you have the Selection outlined with 'marching ants', click on Quick Mask and use the Brush Tool to edit the Selection, then click the Quick Mask icon again to return to back to the Selection / 'marching ants'.
Quick Mask is really a most useful tool.