One of the first things you will certainly wish to do in Photoshop is to move about or 'navigate' within the image area. This will mean zooming-in, then moving the magnified section of the image around the screen to the appropriate place, zooming out and returning to full screen display.
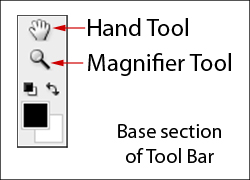
Two tools at the base of the Tool Bar allow you to do this, plus the Navigator palette and one or two less apparent methods.
We begin with the two most commonly used tools: The 'Magnifier Tool' and the 'Hand Tool'

There are several way to enlarge the image:
Magnifying
The Magnify Tool is near the base of the Tool Bar: The cursor becomes
a small magnifying glass icon, left-mouse clicking (or tap-touching the
pad surface with a graphics pad pen) will cause the size of the image
to increase
To zoom-out (de-magnify), hold down the Alt key and the '+' sign inside the magnifying glass icon will become a '-' (minus) sign, click as described above will zoom out in steps.
Alternatively, right-click with the mouse will present the options of zoom-in, zoom-out, Fit on Screen, Actual Pixels or print Size
A quick-key for Fit
on Screen is Ctrl + 0 (zero)
You can also zoom-in and out using Ctrl with the '+ '(plus) and '-' (minus)
keys
Moving
Once you have zoomed-in, movement is possible with the Hand Tool situated
above the Magnifying Tool.
Simply select the tool and click / drag the image.
Navigator for combined
Zoom & Move
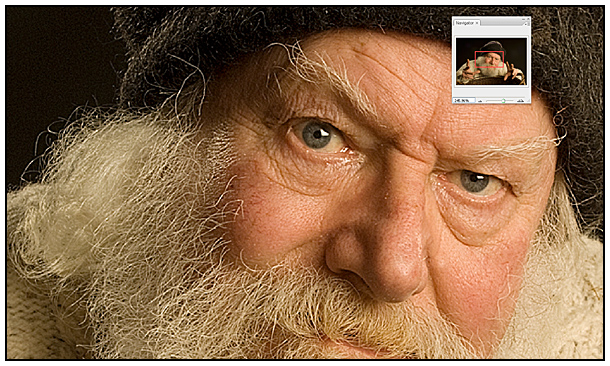
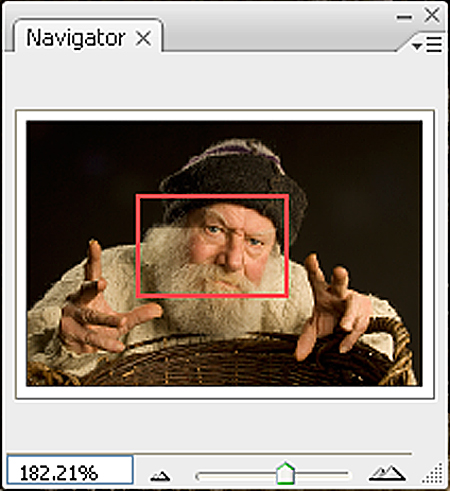
An alternative method of zooming in and out and moving around is presented
by the 'Navigator' palette. If you can't see the Navigator palette, go
to Window > Navigator. This is simple and intuitive. The slider control
allows zooming in-out and by moving the active area inside the Navigator
thumbnail image, the desired location can be found. With the Navigator
active, you can still use the Magnifier tool or Hand tool if you so wish.


Quick-Keys
A fast method to zoom-in and navigate - and one to save you time without
leaving the tool you're already using - is by keyboard shortcuts or 'quick-keys':
Hold down the Ctrl + Spacebar together, the 'Magnifier Tool' icon appears on screen, use this icon to click-drag a rectangular marquee to include the area you need, when you un-click, the picture will zoom to the preset longest dimension (remember to release Ctrl + Spacebar) - and magic -the image snaps to the selected area!!
If required, you can refine zooming-in / out using Ctrl with the '+ '(plus) and '-' (minus) keys as described above.
To move the image around (navigate), simply hold down the spacebar and for as long as you hold it down the Hand Tool will appear on-screen and allow movement in the usual way. Release the spacebar and continue working.
This covers the basics of 'navigation'.