Perception & Scale continued
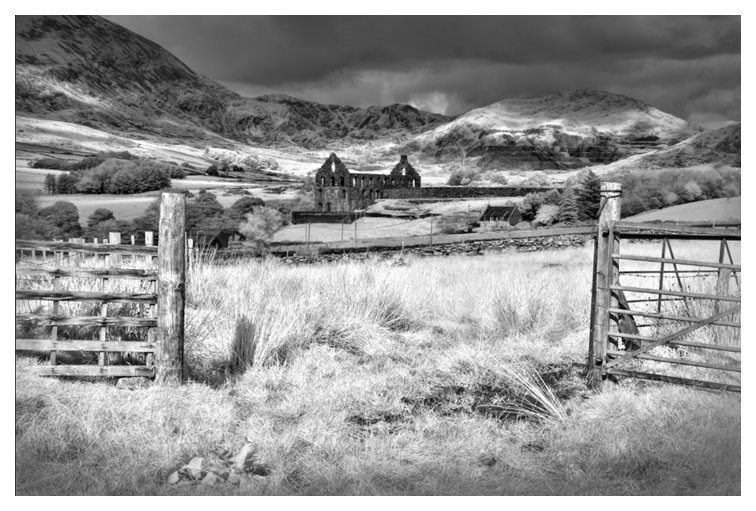
Changing the size of elements within the image.
Clive R. Haynes FRPS
With the new Layer active, the next step is to Transform the scale of the (copied) section. Go to Edit > Transform and choose ‘Scale’.
To maintain accurate proportion hold down the Shift key whilst dragging one of the corner / handle points (see below).
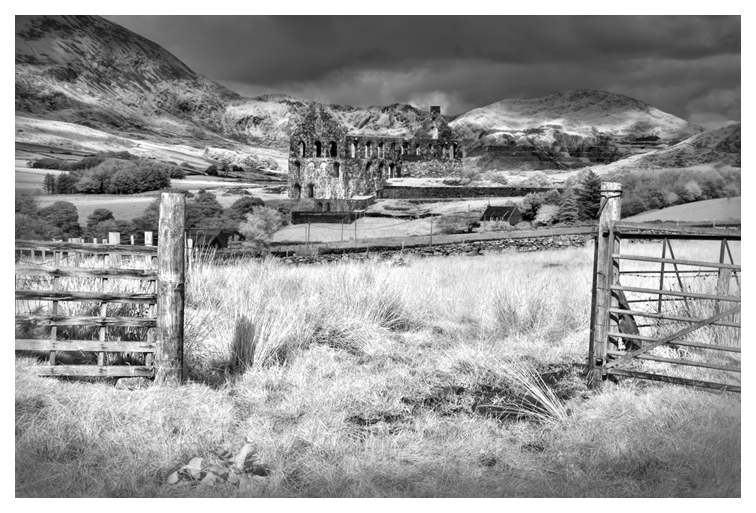
Remember to release the tool (mouse or graphic pen) before releasing the Shift key. If you wish to distort the proportion then don’t hold down the Shift key and use the corner, side or top/bottom ‘handles’ to change the proportions. If you make a mistake either use Ctrl + Z to undo the last step or press Esc key to start all over again. .
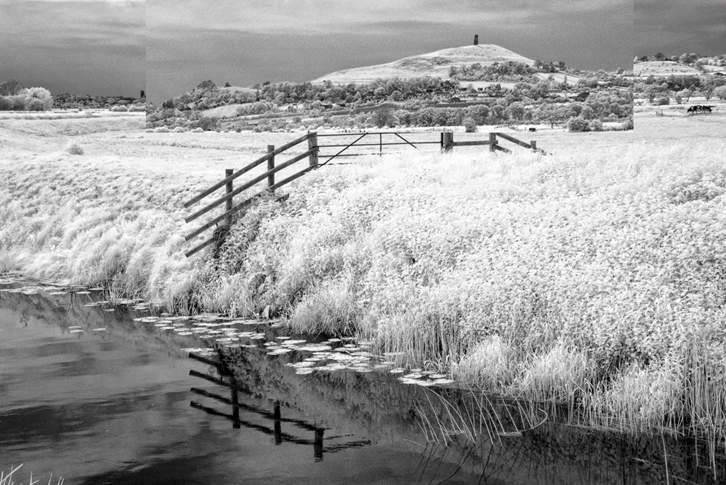
Once you are happy with the new size, use a ‘Reveal All’ Layer Mask to ‘paint out’ / conceal the parts you don’t need or a ‘Hide All’ Layer Mask to ‘paint in’ the part you wish to show. In most cases ‘painting out’ will be the preferred method.
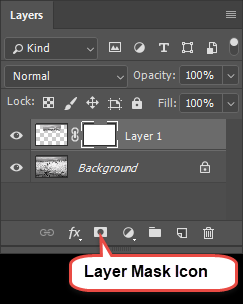
To do this, click on the Layer Mask icon at the base of the Layers Palette and with a suitable Brush Tool, using Black as the foreground colour, ‘paint out’ the parts you don’t need. If you make a mistake, swap to White as the F/G colour and make the correction.
NB: when 'painting' on the Mask, always ensure it's 'active' (by clicking on the Mask 'thumbnail' - a white border appears around it) otherwise you may find yourself painting on the image itself!
If you want to know more about Layer Masks, click on the link at the base of this page.
Keep going until you are satisfied.
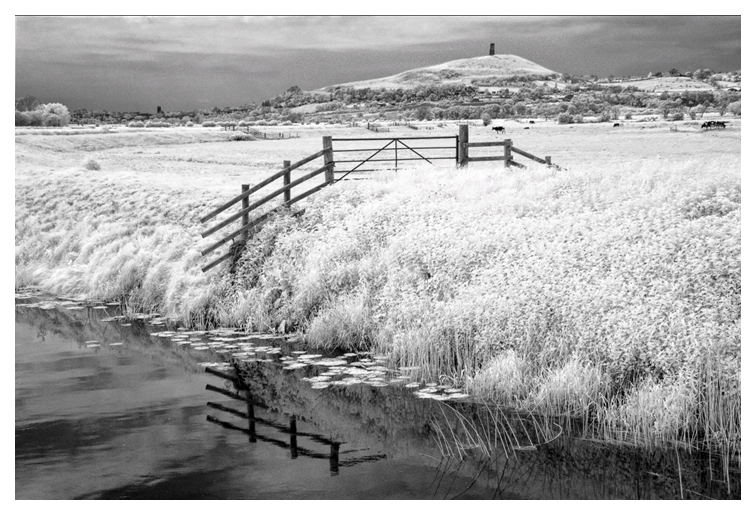
It does however add the required emphasis to the Tor