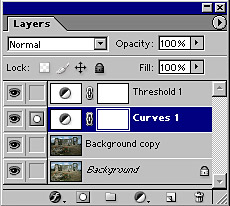
 The starting Point
Activate the uppermost layer
Name
the newly merged layer 'Pen & Ink' to identify it
V6 do this via Layers >
Layer Properties and type in the 'Name' box. > click OK
V7 do this by double
clicking on the name of the layer, then type in the new name
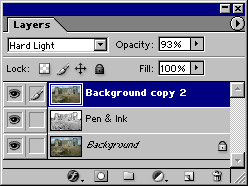
Change the Blend Mode of the Background Copy layer from 'Normal' to 'Hard Light' (experiment with other Blend Modes too)
Reduce the opacity of the copy layer if required
 Layer order and blend setting
Above:
Layer order after naming 'Pen & Ink' layer, placing Background Copy at top
of stack and choosing 'Hard Light' as the 'Blend Mode' (set to 93%)

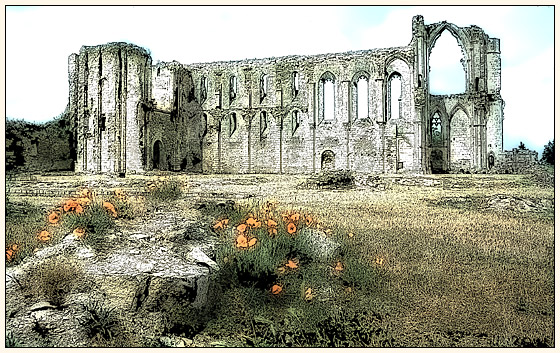
Pen
& Ink version combined with blurred original image ('Hard Light' blend)
As
you can see the technique is very malleable and lends itself to numerous combinations,
having whet your appetite I hope that you'll try these ideas and experiment with
your own variations