The Pen
Tool
Introduction to Making 'Paths'
Continued
Clive R. Haynes FRPS
Other
Options In Brief
The following brief notes will form the basis for more
information about the 'Pen Tool' and 'Paths':
Transforming
and Moving the Path
To change the shape of the path by 'Transforming it',
use the set of 'Transform' options in the usual way by access them via Edit >
Transform. You'll notice that this will show as 'Transform Path' - you see - the
program knows what you're doing!
If you have created two 'Paths' as the 'Workpath', say an inner and an outer circle and you wish to move them both together, use the 'Transform' to enable the 'composite Path' to be relocated. Note: You can only move both together if the 'Path' is non-editable - that is with no 'Anchor Points' showing, so click outside the 'Path' area with the 'Path Selection' Tool' to 'switch off' the points.
Once the 'Path' has been defined it can be made into a 'Selection' by clicking on the 'Load Path as a Selection' icon (a 'dotted' circle) at the base of the 'Paths' Palette. The 'Path' can now be treated as a 'normal Selection'. Conversely, a 'Selection' can be converted to a 'Path' by clicking on the icon at the base of the Paths Palette.
Stroking
the 'Path' with a 'Brush'
The 'Path' can be 'Stroked' by any Tool that
performs as a 'Brush' - that is to say the following can be considered:
Brush
Tool
Pencil Tool
Clone Stamp Tool
Pattern Stamp Tool
History Brush
Tool
Art History BrushTool
The 'Diameter', 'Hardness', 'Opacity' and 'Blend' by the usual route.
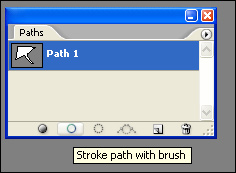
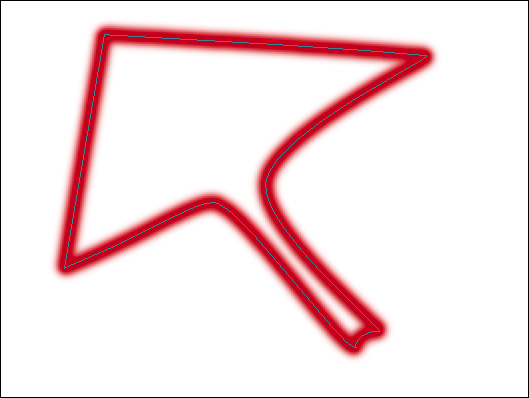
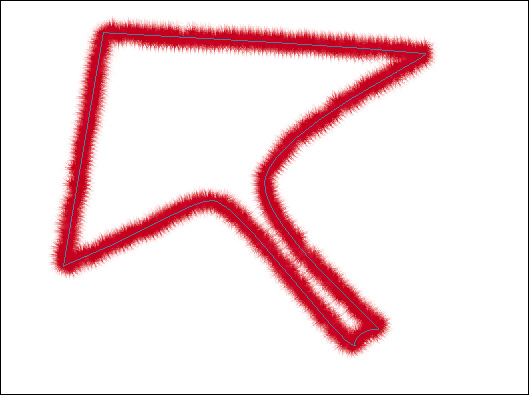
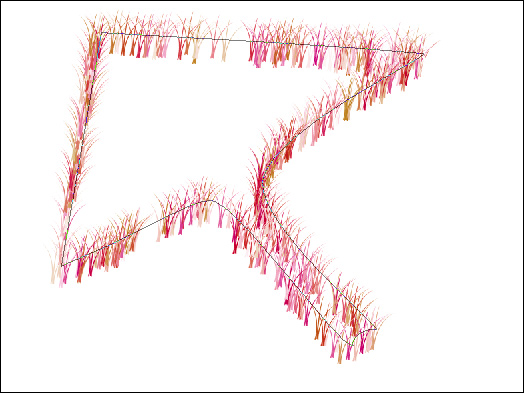
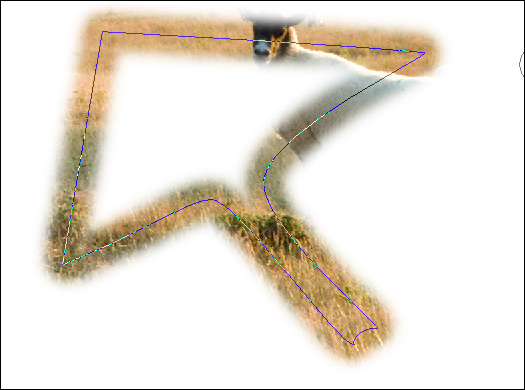
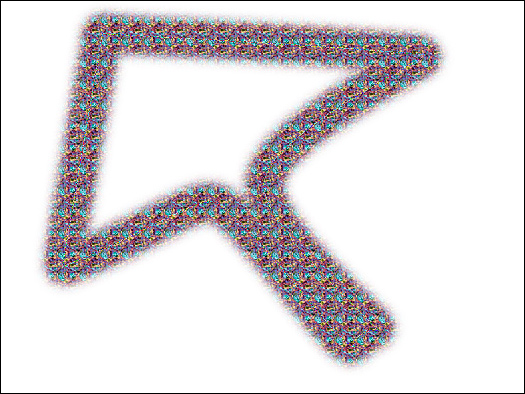
Set the parameters for the chosen Tool, then click on the 'Stroke Path with Brush' icon at the base of the Paths Palette (second from left). See 'screen grab' below:
Fill
'Path'
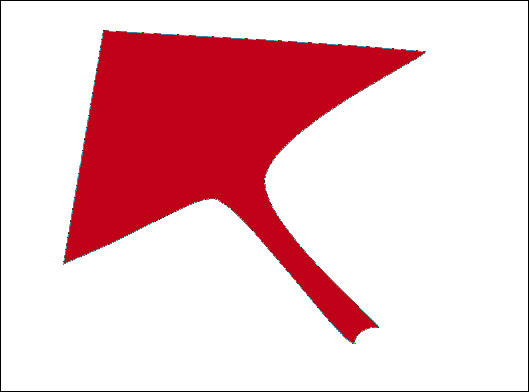
The area defined by the 'Path' can be 'filled' with the Foreground
Colour. Click on the 'Fill' icon at the base of the Paths Palette (extreme left)
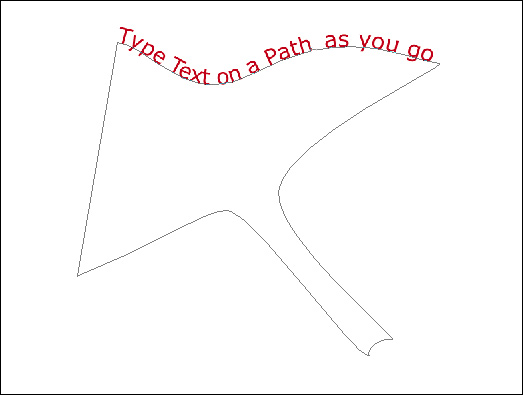
Select the 'Type Tool' and carefully position the cursor directly on the 'Path'. When the cursor displays a short wavy line, you're 'on the Path' and you can begin typing. If you see only a short straight line on the cursor, then you're 'off the Path' and if you type, the text will be a normal straight-line text layer. Typing text on the 'Path' will follow the shape of the 'path'. Be aware of probable strange occurrences to the text at corners and along the base. Further edits and changes to shape the 'Path' will cause the 'Type' to follow the new contours. See example below:
When you choose a defined 'Shape' it conforms to a predetermined 'Path'. This 'Path' can be edited and modified with the 'Pen Tool' and the 'Path Tool'.
What
Next?
The best thing to do now is to put the above knowledge into practice
with a geometric shape. Choose one where there are a few simple problems to overcome.
There's an image ready to 'download' if you would like to try it. It's the one
shown in the opening picture - that of a 'Magnum 357' revolver. Click on 'Download
Image' below to 'download' the picture.