Portraiture
Digital Make-Up
Continued
The Lips
Clive R. Haynes FRPS
In dealing with the lips we can move swiftly as the method of working follows the same method as described for 'eye-shadow' and 'cheeks'.
The screen-grabs below illustrate the workflow:
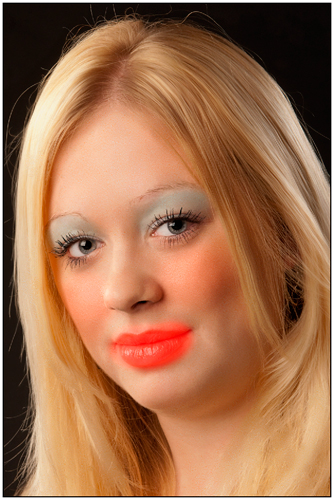
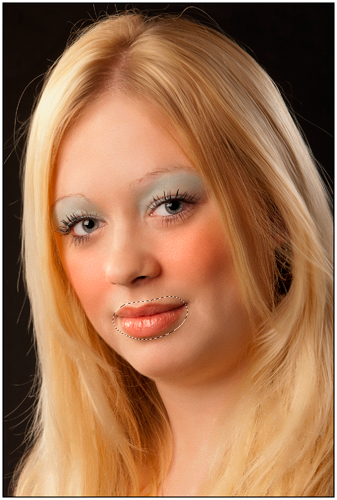
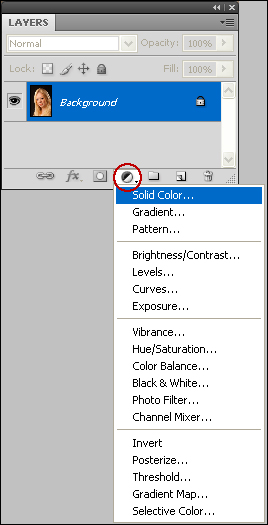
Step 3: Above:
Solid Color Adjustment Layer
Hold down Alt key before clicking on Adjustment layer icon and continue
holding down to select Solid Color
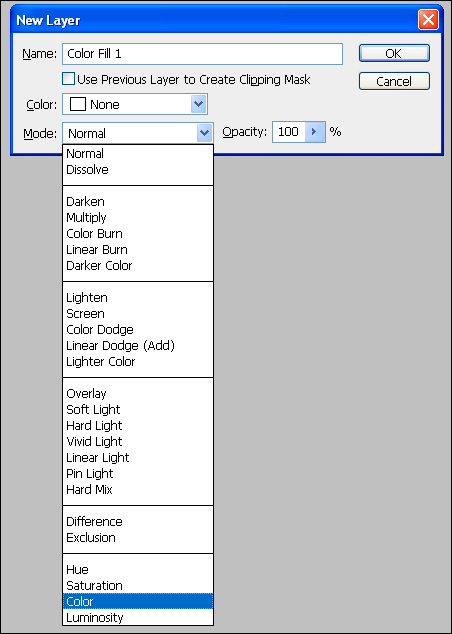
Step 4: Above: Color Fill dialogue box: Choose 'Color' as (blend) Mode.
Click 'OK'
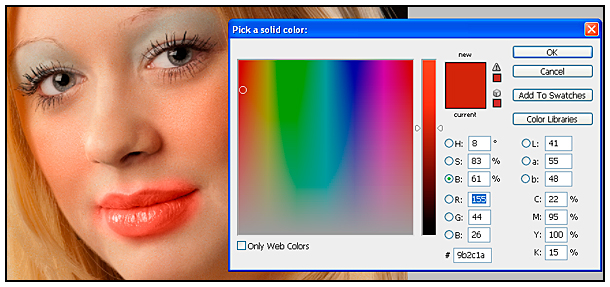
Click 'OK'.
Step 6: You
will now see Color Fill 1 Adjustment Layer has appeared above the image
layer.
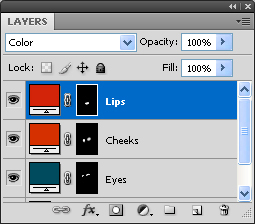
Tip: With more than one Adjustment Layer in the layer structure,
it's a good idea to rename the Adjustment Layers to avoid confusion.
To rename a Layer, double-click on the name of the Layer, then type in
the new name.
See screen-grab below.
Step 7: Option
to change the colour of the 'lipstick'.
Double-click on the Solid Color Fill 1 Adjustment Layer where the coloured
rectangle appears.
The Colour-Picker box opens.
Look at the image and adjust the colour to your preference.
Click 'OK'.
Edit the area covered by the new 'lipstick' by working on the Adjustment Layer mask
Choose a smallish size soft-edge brush and with black as the foreground colour, paint-out parts where the lipstick colour extends beyond the lips. Changing the opacity of the brush will alter the density (a graphic pen & tablet is particularly useful for this). If you wish to correct an error, swap to white as the foreground colour. In this way the area of 'lipstick' can be extended, reduced and refined.
If there's a need
for a stronger application of colour whilst retaining image texture,
then experiment with other Blend Modes, notably, 'Hard Light', 'Vivid
Light', Linear Light' and 'Pin Light' from the drop-down menu accessed
by clicking on the drop-down arrow to the right of the rectangular box,
top left of the Layers Palette where currently, the word, 'Color', will
be displayed.
Choosing 'Normal' as the Blend Mode will paint-over the texture of the
image and obscure detail - but if this serves the purpose, so be it.
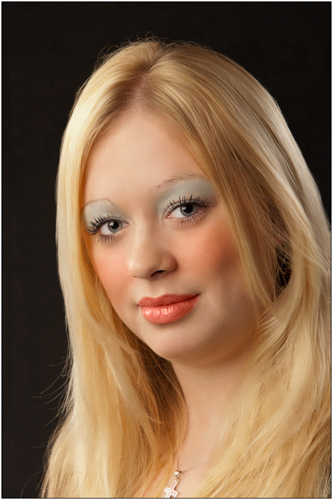
Below: the original image and the final image compared, illustrating the addition of eye-shadow, blush and lipstick

